
 Nodaro Docs
Framing
Set the shot size, angle, coverage, composition and vantage of AI images and video from 66 options, and Nodaro writes the framing into your prompt.
The Framing picker sets how a shot is framed. You combine up to five settings: shot size, angle, coverage, composition and vantage. For example, you can frame a close-up from a low angle on the rule of thirds. Nodaro adds tested wording for each choice to the prompt of every node you connect it to. The picker never calls a model, so it costs no credits.
When to use it
- Direct each shot of a story or a storyboard: a wide establishing shot, then a close-up.
- Give a batch of images the same visual language.
- Build full cinematography together with the Lens, Camera Motion and Lighting pickers.
How to use it
Add the picker
Open the node picker and choose Creative Controls › Camera › Framing. A new Framing picker starts with Shot Size set to Wide Shot.
Choose the settings you need
Select the node to open its settings panel. Each of the five settings has its own section and switch. Click an option to choose it; a setting that is off adds nothing to the prompt.
Connect it
Drag from the picker's output to the Look input of a Generate Image or Generate Video node. You can also connect it to a Text or Prompt node to include the wording in a longer text.
Run the image or video node
The framing wording is added to the end of the prompt when the connected node runs.
Settings
| Setting | What it does |
|---|---|
| Shot Size | How much of the subject the frame shows, from Extreme Wide Shot to Extreme Close-up. The default is Wide Shot. |
| Angle | The height and tilt of the camera, such as Low Angle, Dutch Angle or Bird's Eye. |
| Coverage | Who and what the shot covers, such as Two-Shot, Over The Shoulder, POV or Mirror Selfie. |
| Composition | How the frame is arranged, such as Rule of Thirds or Negative Space. Accepts up to 2 options. |
| Vantage | The side from which the camera sees the subject, such as Front-on, Profile Left or Behind. |
| Custom text (before) | Your own words, added before the framing wording. |
| Custom text (after) | Your own words, added after the framing wording. |
| Prompt hint | Full adds a longer description of each choice. Compact adds only the short term. See Creative Controls. |
| Items per row (node card) | How many settings the node card shows side by side, from 1 to 5. The default is 2. |
To see the exact words the picker will add, switch the node to the Prompt or Both display mode. The settings panel shows the same text under Will inject into prompt.
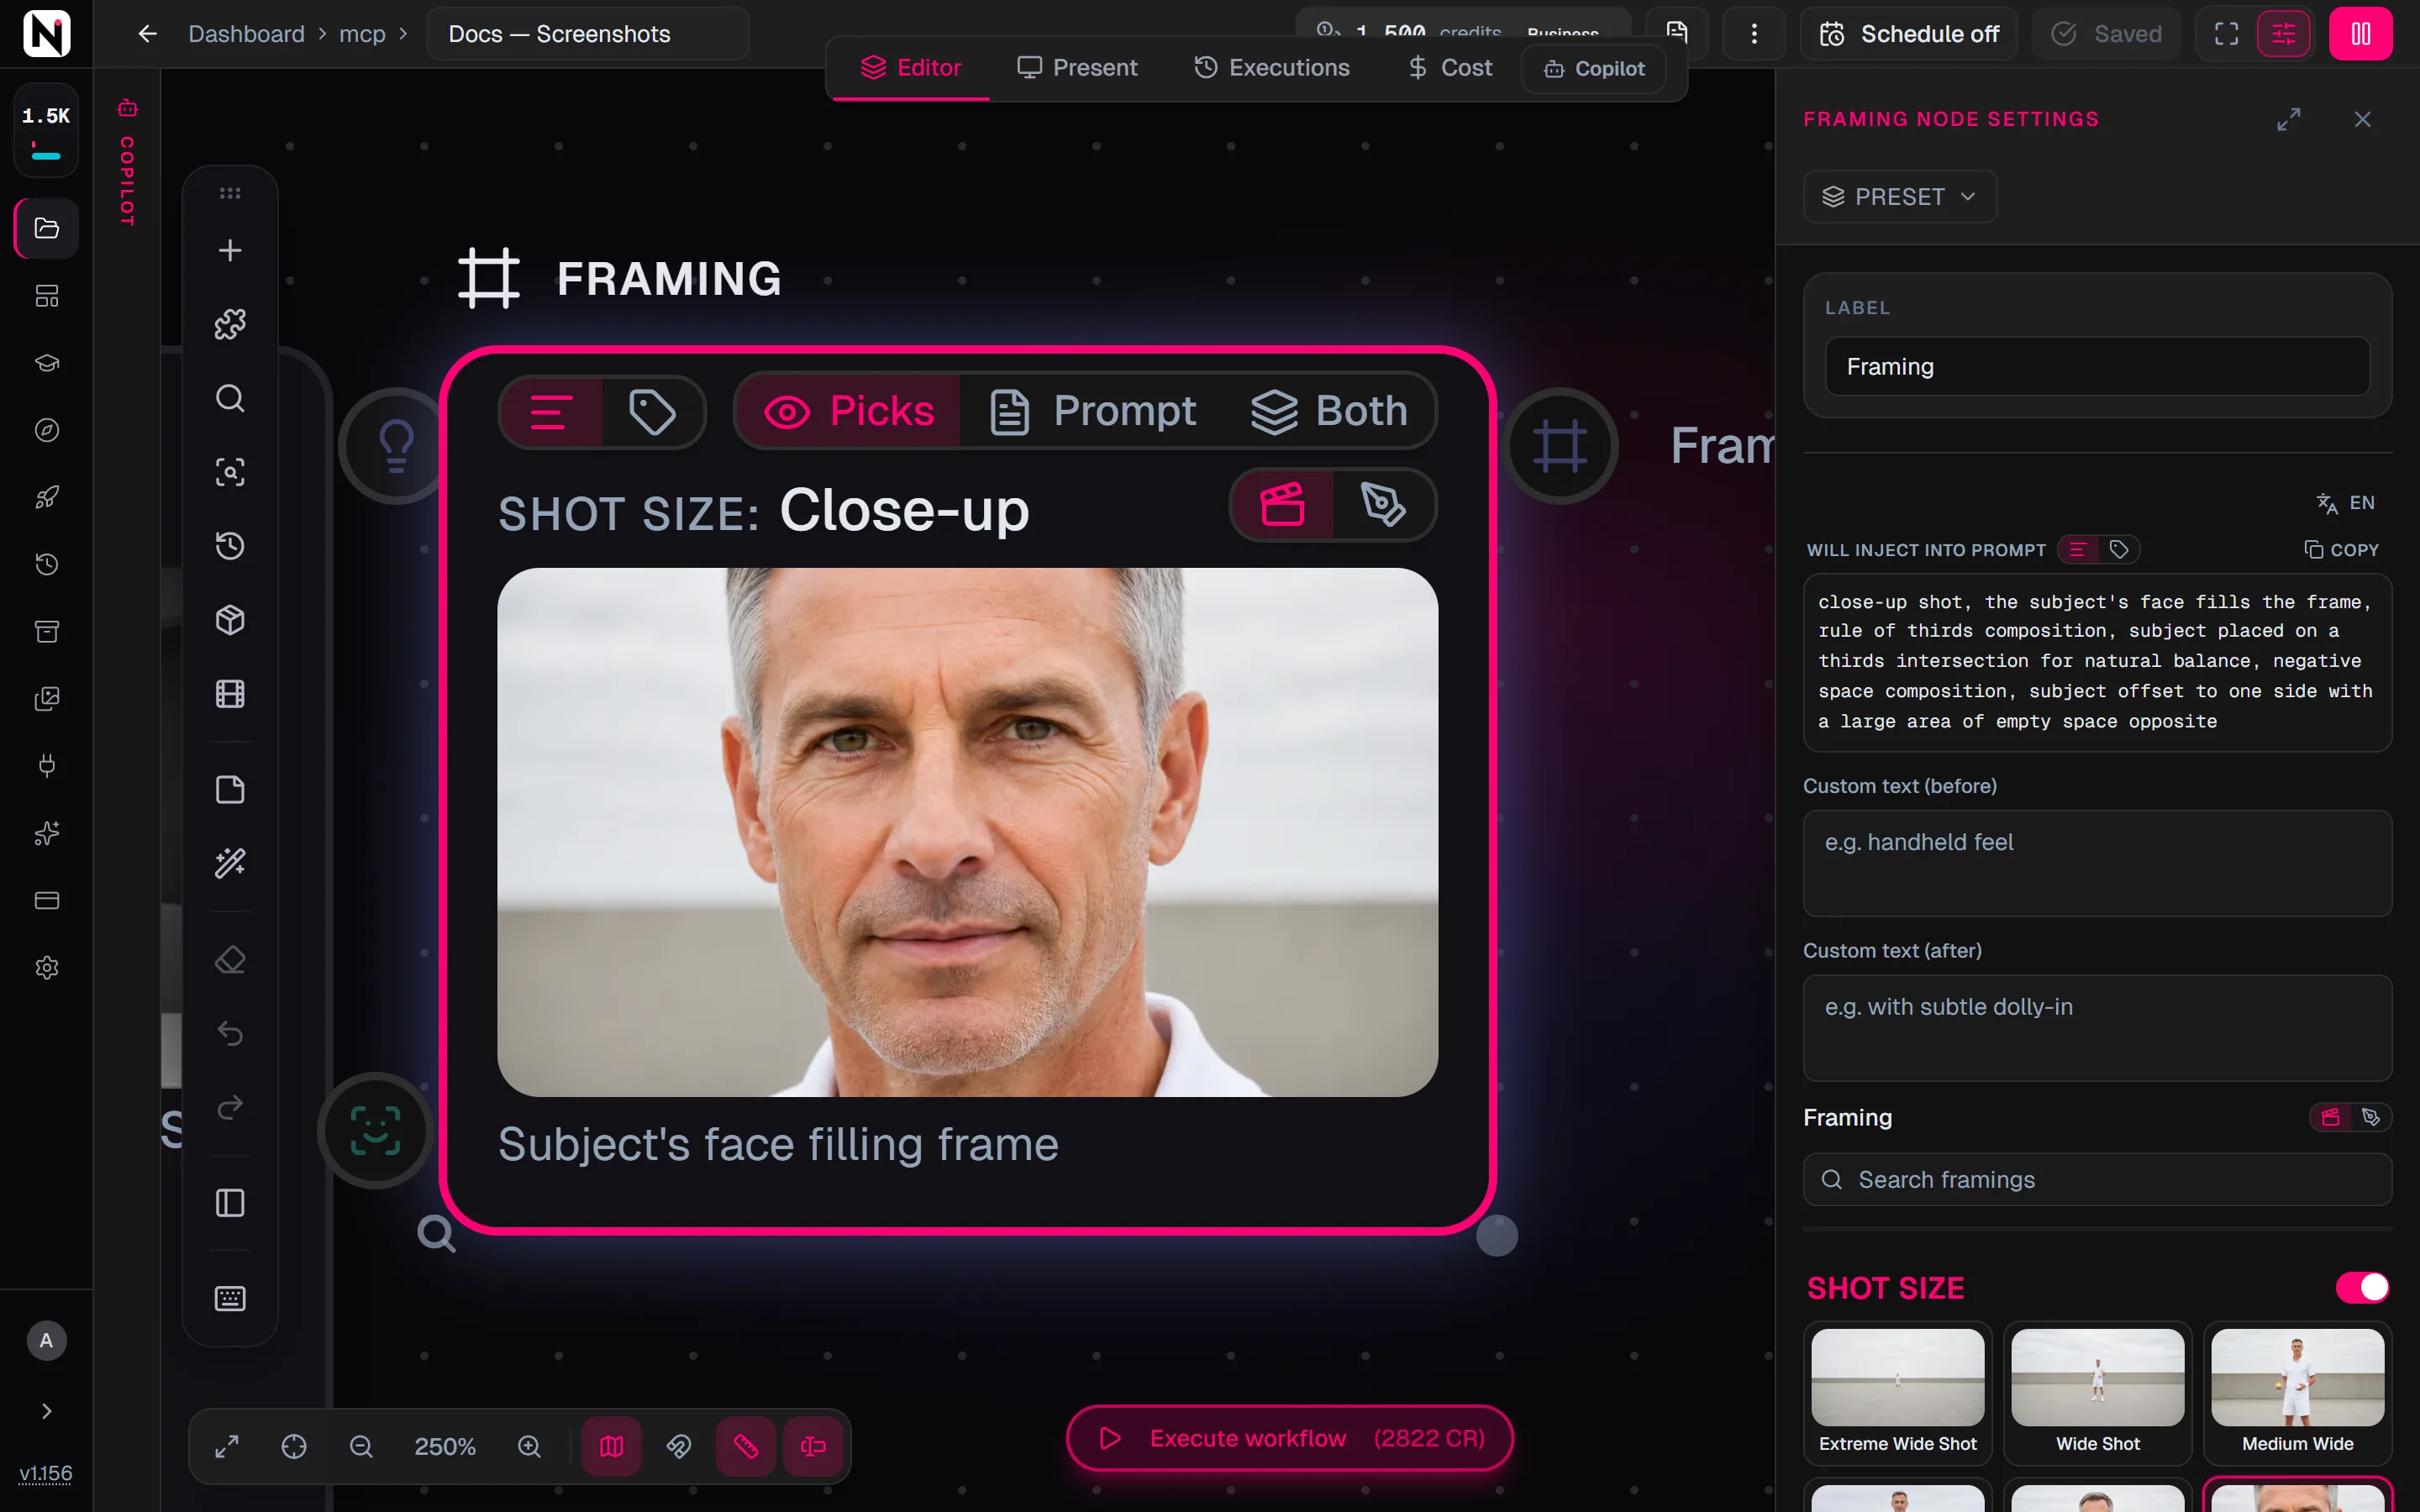
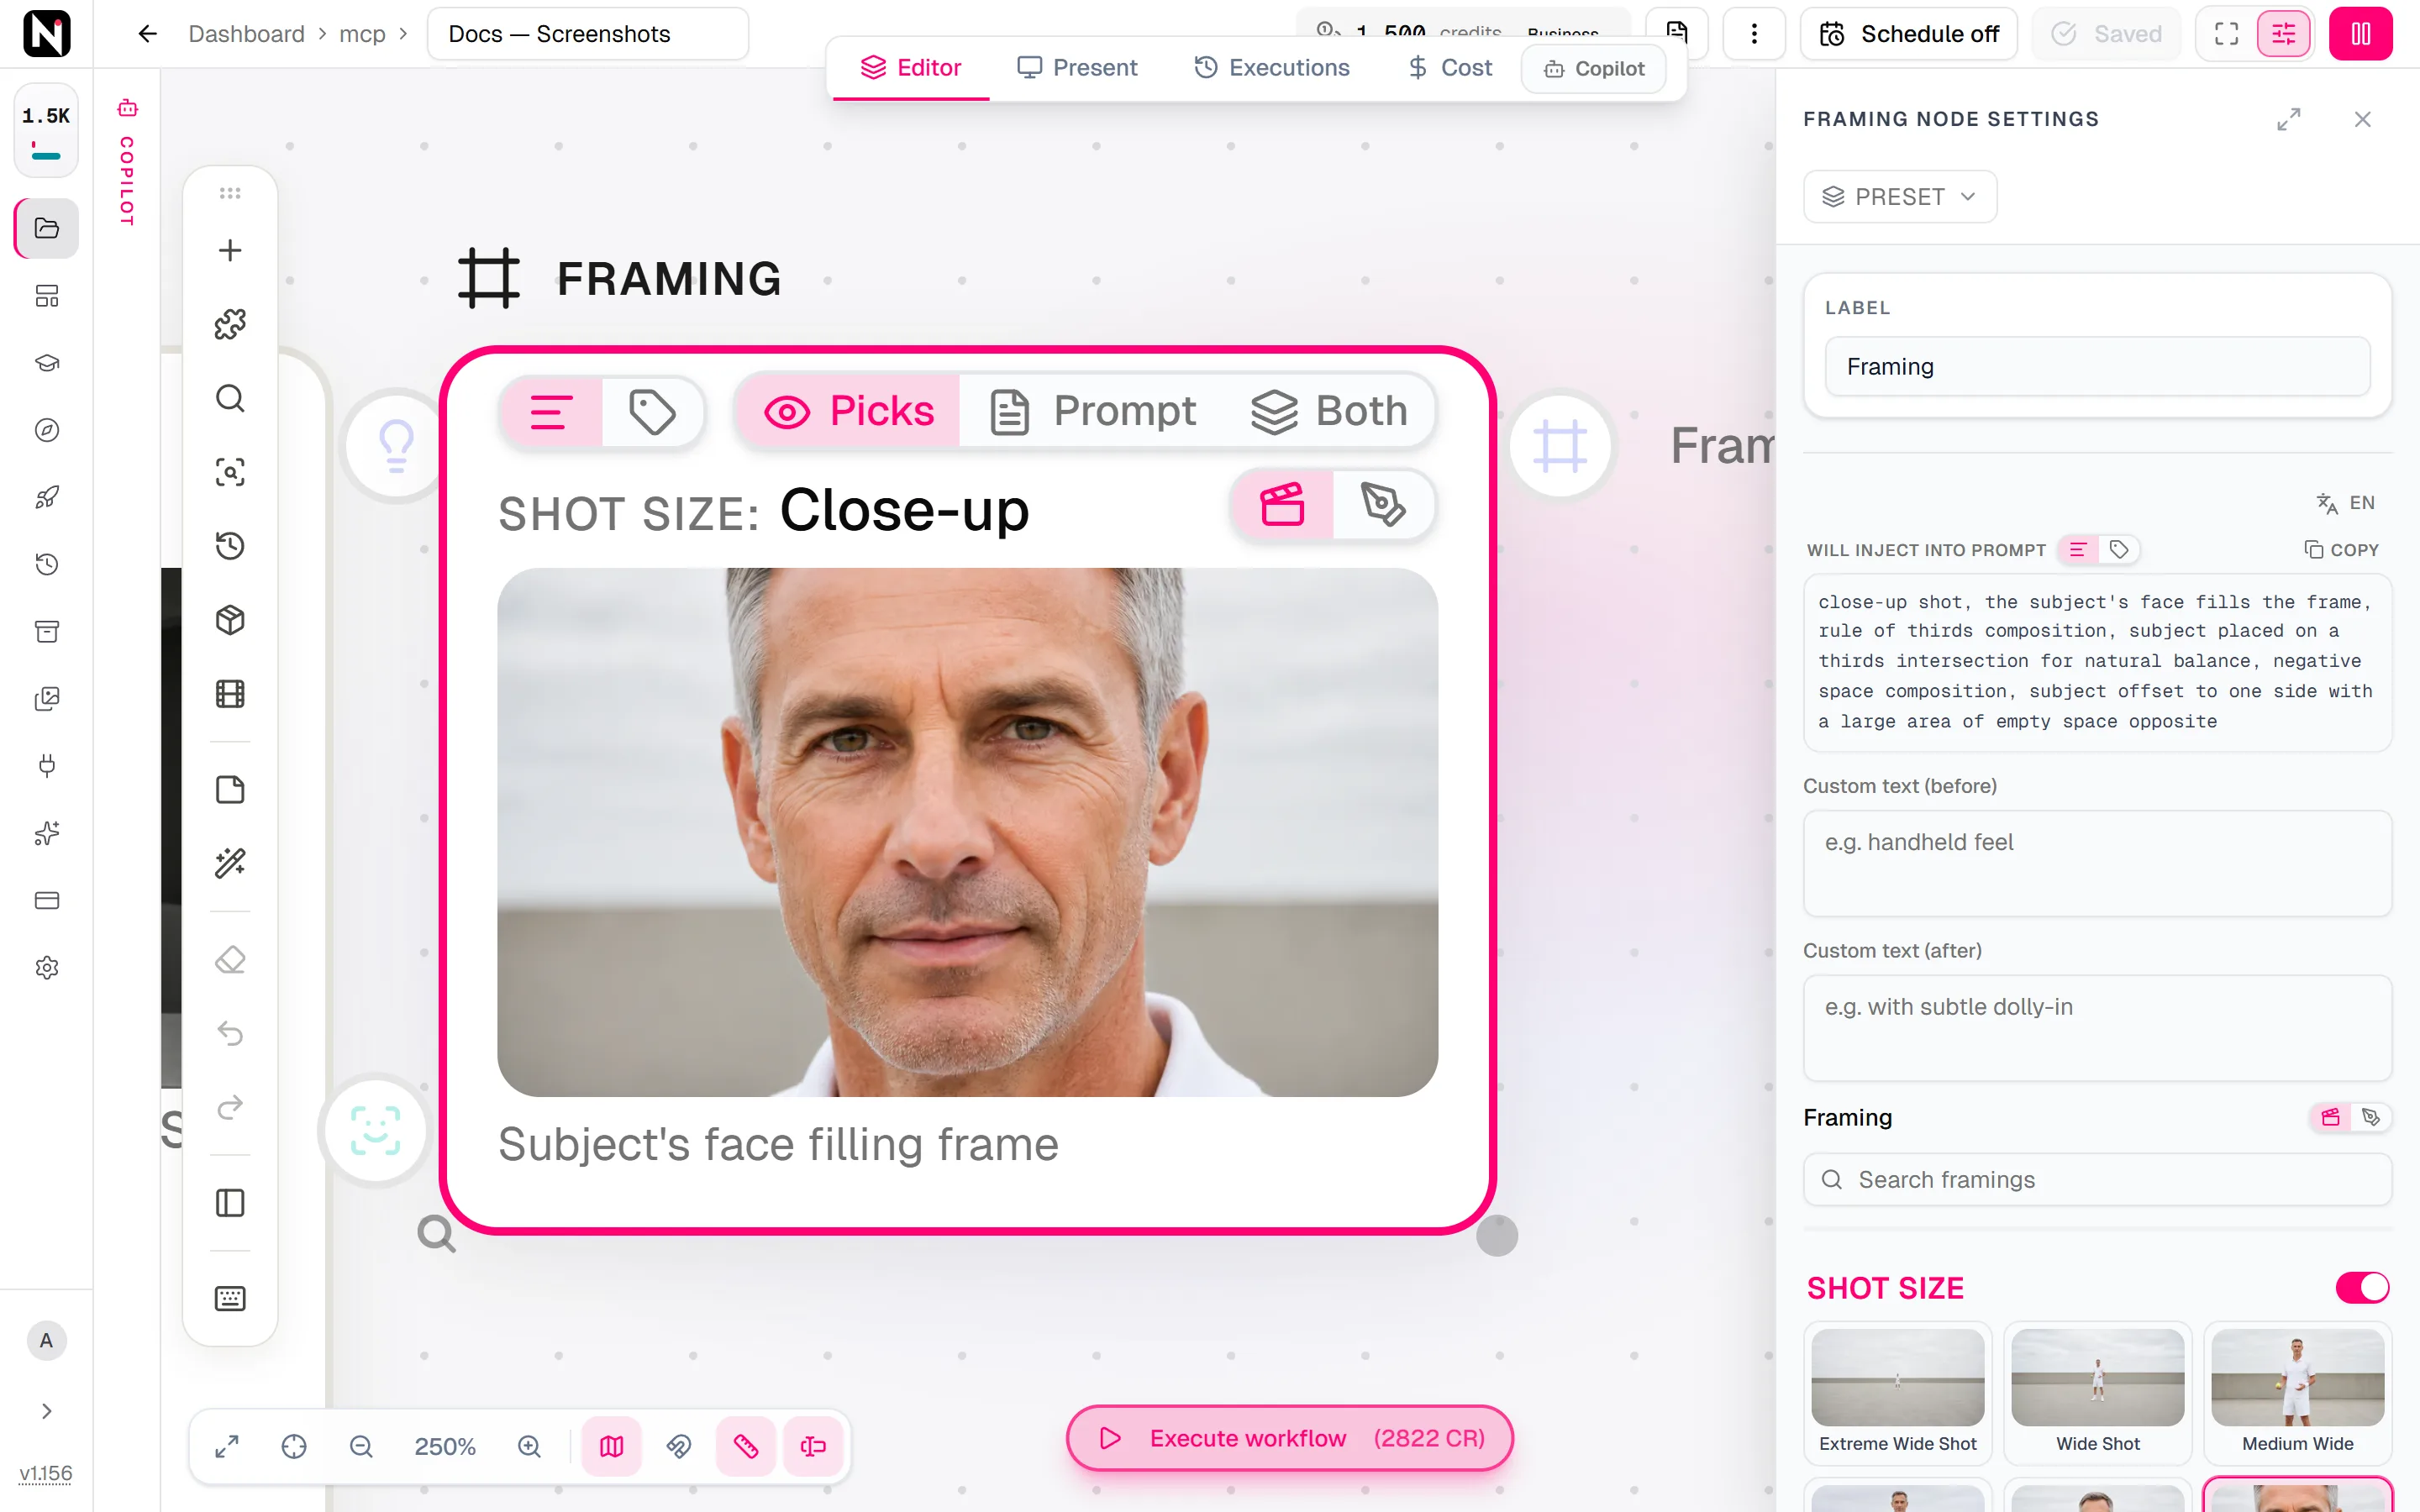
To choose a second composition, click the small + on the selected tile, then click another tile. The tiles are numbered in the order you chose them.
What it adds to the prompt
The picker joins your choices with commas, in the order shot size, angle, coverage, composition and vantage. For example, Close-up, Low Angle and Rule of Thirds add this text in Compact mode:
close-up, low angle, rule of thirdsIn Full mode, each choice adds a longer description. For example, Close-up adds close-up shot, the subject's face fills the frame.
Real renders or illustrations
On Nodaro Cloud, each option is pictured with a real render: the same base frame put through that option. Each option also has a drawn illustration. A two-icon switch chooses which one the node shows: a film icon for the render, a pen icon for the illustration. The switch sits next to the Framing heading in the settings panel, and next to the selected option's title on the node card.
The pictures never change the prompt. Your last choice is remembered in this browser for the next Framing picker you add. Coverage options have no render, so they always show the illustration. On a self-hosted install, every option shows its illustration and there is no switch.
Fill it from a photo
The Framing picker has a Picker JSON input. Connect a Describe to Picker node to it and run that node on a reference photo. Describe to Picker costs 10 credits per analysis. The Framing picker stays free.
When new values arrive, the Framing node shows an Update from injected button. Click it to apply them. The detected settings are written, and the settings the photo did not show are cleared. The button reads Up to date when nothing new is waiting.
Every framing option
The five settings each have their own catalog. Search one, or scroll through it. The words under each name are the term the picker adds in Compact mode.
Shot size
How much of the subject fits in the frame, from a landscape to a single eye.
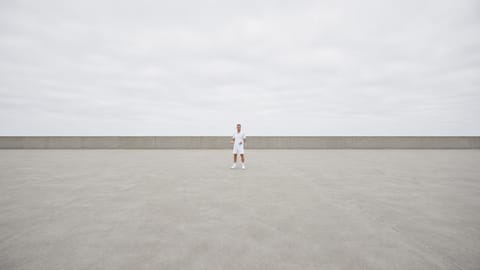 Extreme Wide Shot
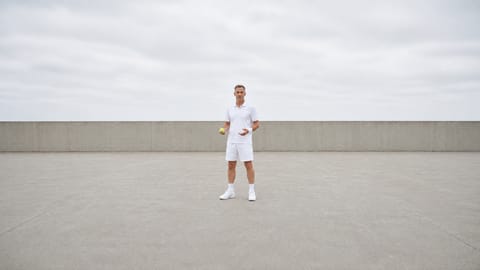 Wide Shot
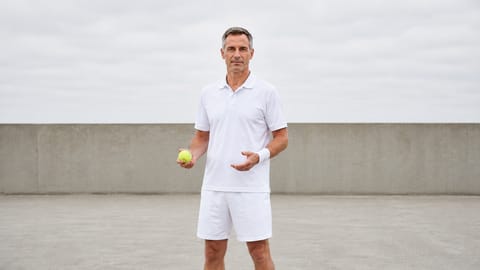 Medium Widemedium wide shot
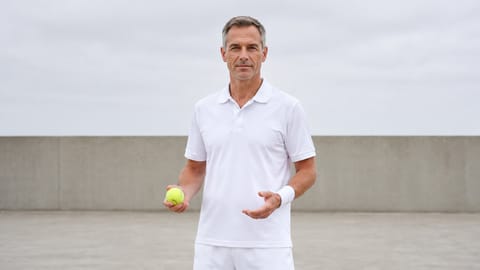 Medium Shot
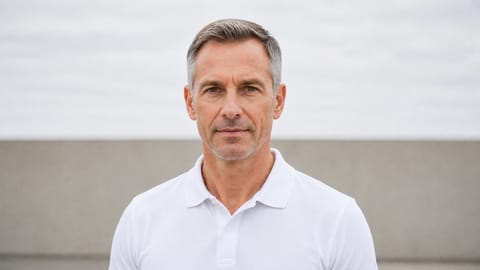 Medium Close-up
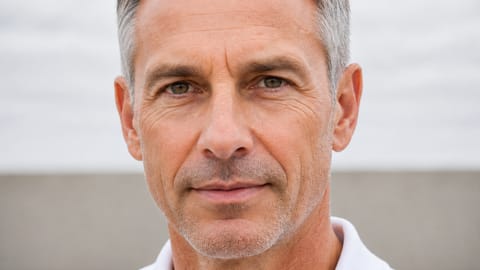 Close-up
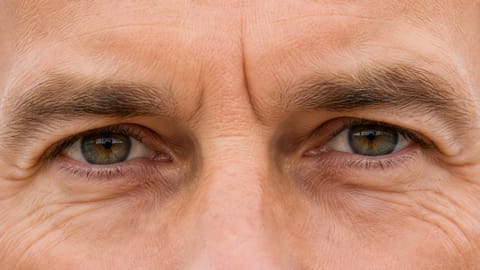 Extreme Close-up
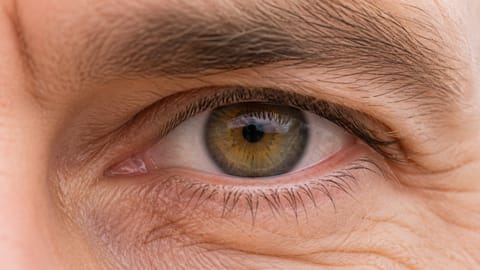 ECU: Eyeextreme close-up on a single eye
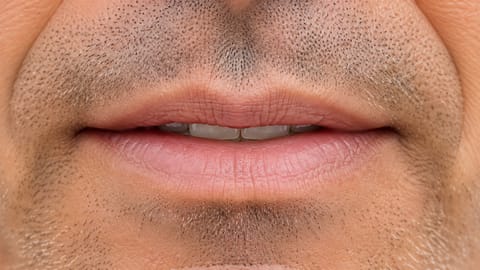 ECU: Lips/Mouthextreme close-up on the lips and mouth
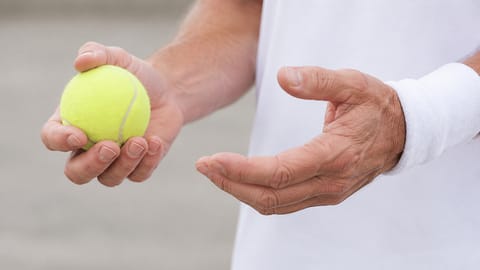 ECU: Handsextreme close-up on the hands
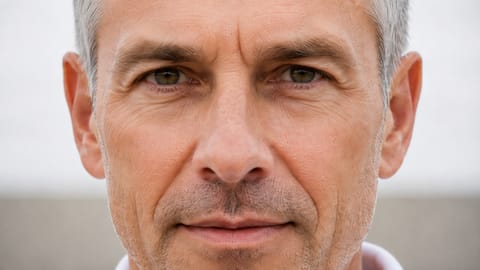 Big Close-up (BCU)big close-up, chin to forehead
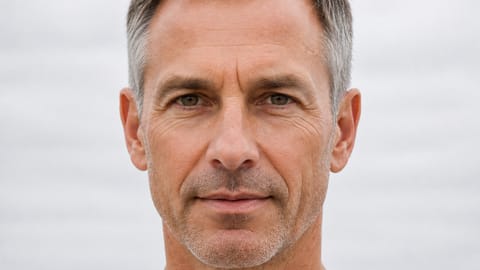 Choker Shotchoker shot, head and neck only
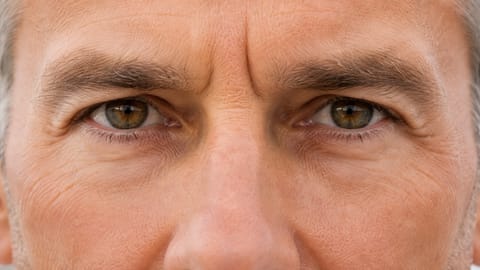 Italian Shot / Trinity Shotextreme close-up cropped at the eyes
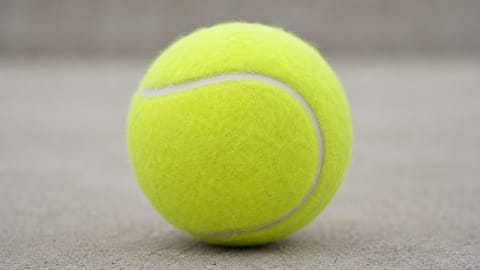 Insertinsert shot
 Macromacro shot
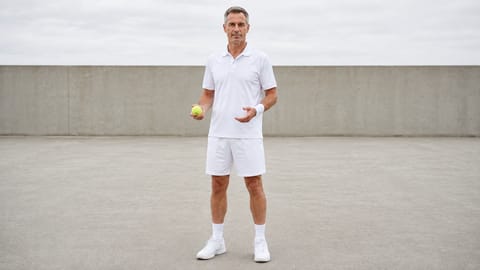 Full Shot
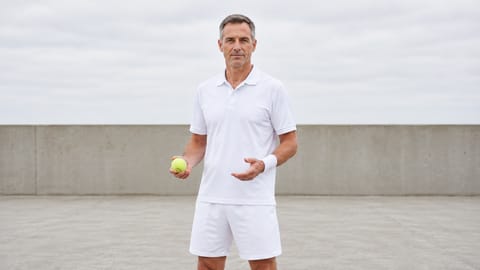 Cowboy Shot
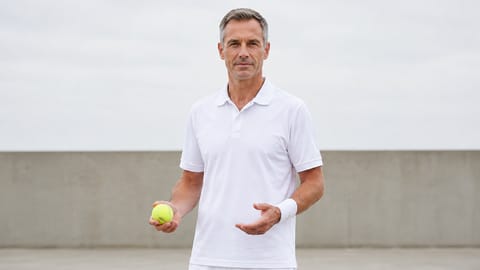 Head to Hiphead-to-hip framing
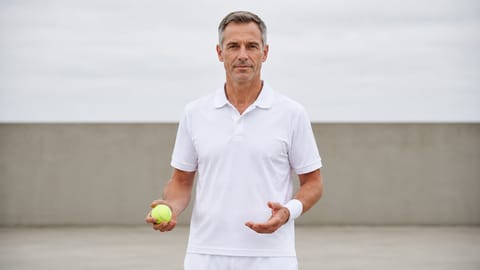 Half Bodyhalf-body portrait
Angle
Where the camera sits in height, and whether it tilts.
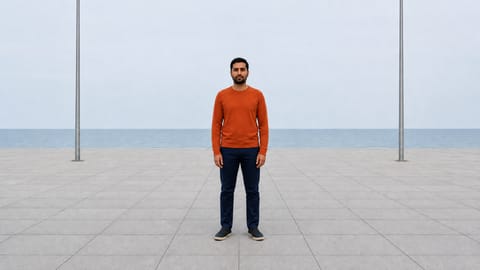 Eye Level
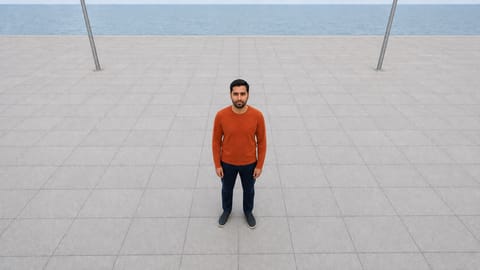 High Angle
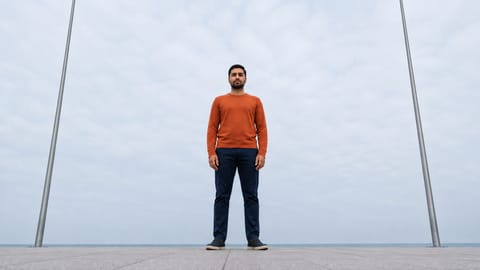 Low Angle
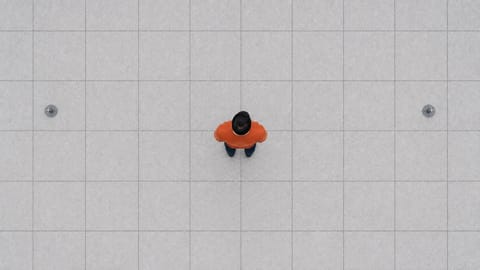 Overheadoverhead shot, looking straight down
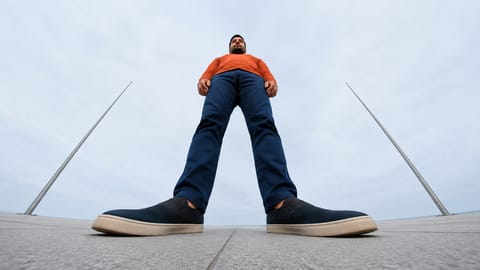 Worm's Eyeworm's eye view
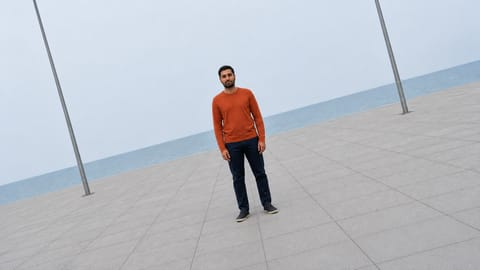 Dutch Angle
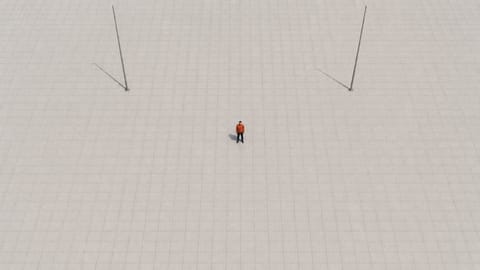 Bird's Eyebird's eye view
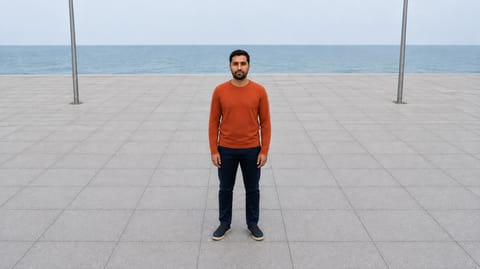 Slightly Downwardslightly downward angle, just above the eyeline
Coverage
How many people the shot covers, and how the camera relates to them.
- Singleclean single, one subject in frame
- Two-Shot
- Three-Shot
- Over The Shoulderover-the-shoulder shot
- Reverse Shot
- POVpov shot, first-person perspective
- Selfiearm's-length selfie framing
- Mirror Selfie
- Gym Mirror Selfie
- Through Glassshot through a pane of glass
- Top-down Flat Lay
- Establishing Shot
- Dirty Singledirty single, foreground shoulder in frame
Composition
How the elements are arranged in the frame, including layouts such as a diptych or a contact sheet.
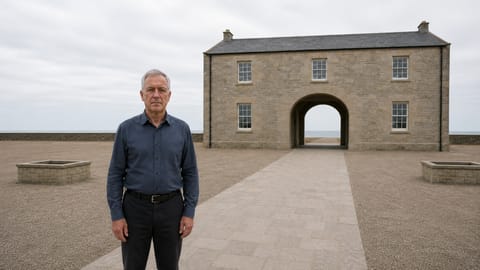 Rule of Thirds
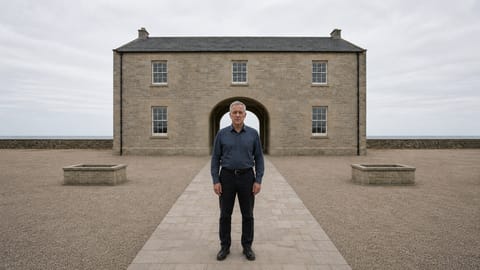 Centeredcentered composition
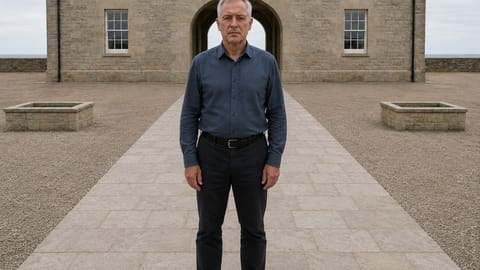 Headroom Tighttight headroom
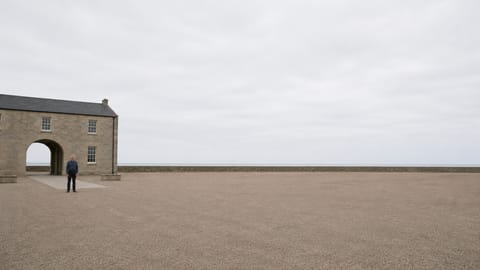 Negative Space
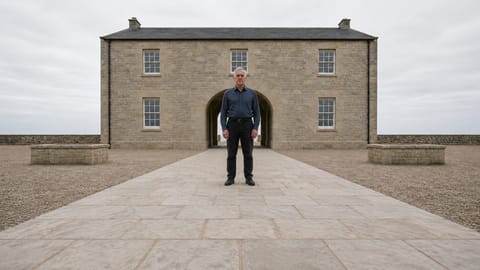 Leading Lines
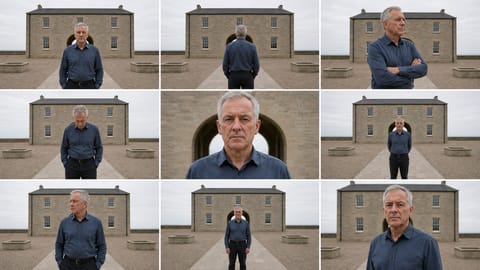 3×3 Grid Collage3x3 grid collage, nine equal panels
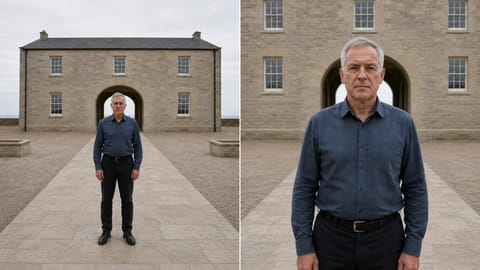 Diptych
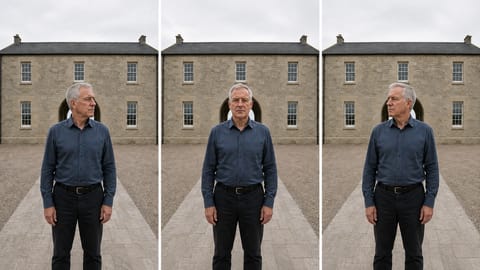 Triptych
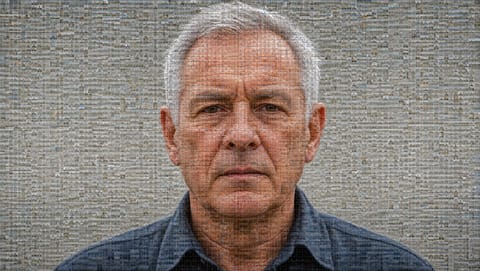 Multi-frame Mosaicphoto mosaic built from small image tiles
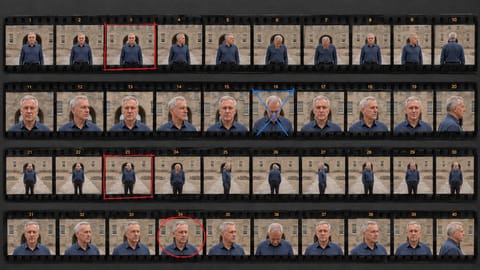 Contact Sheet
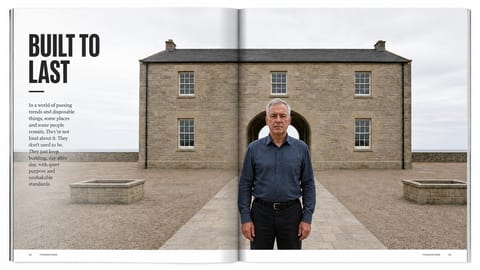 Magazine Spread
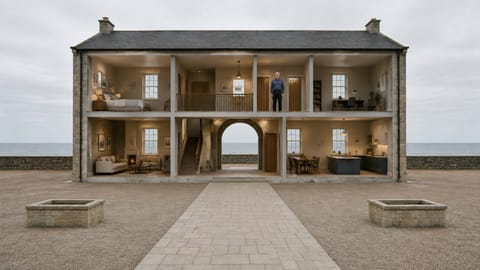 Cutaway / Cross-Sectioncutaway cross-section, near surface removed
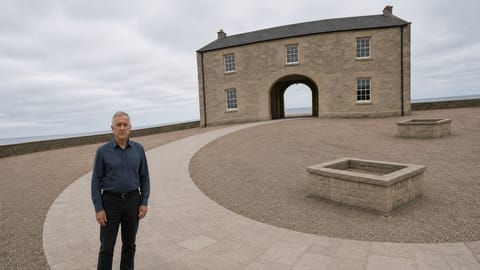 Golden Spiral / Fibonaccigolden spiral composition
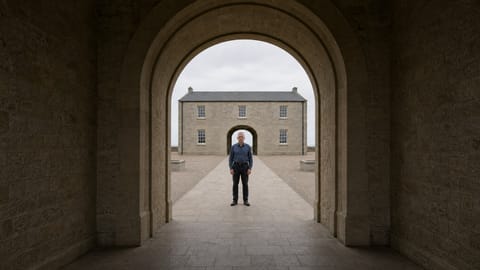 Frame Within a Frame
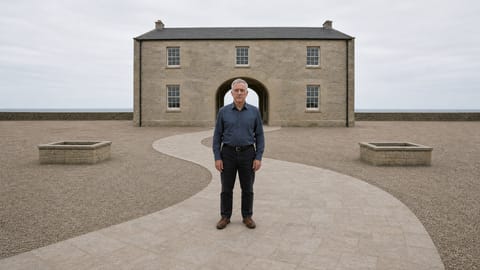 S-Curve / Serpentines-curve composition
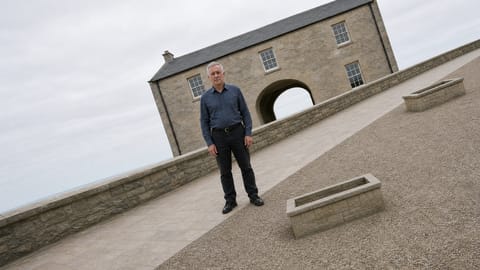 Diagonal Composition
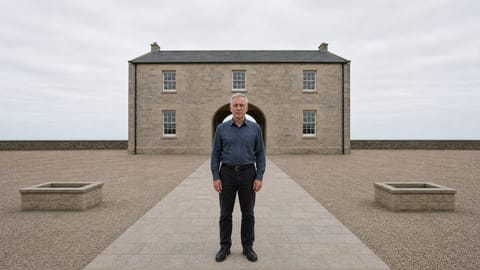 Triangular Composition
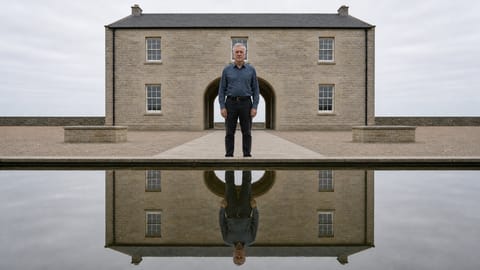 Symmetrical / Mirrorsymmetrical mirrored composition
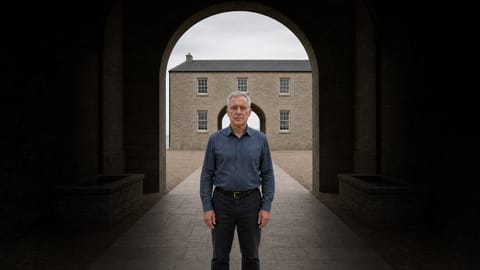 Vignette Composition
Vantage
The side of the subject the camera sees.
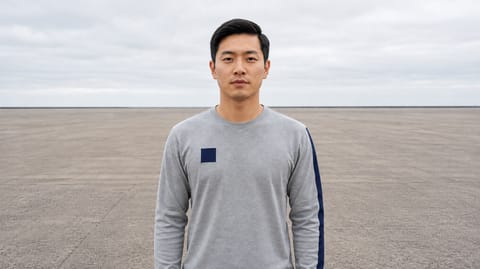 Front-onfront-on view, subject facing camera
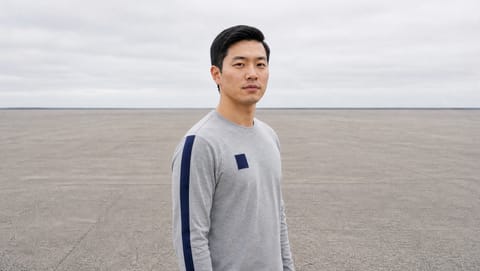 Three-Quarter Frontthree-quarter front view
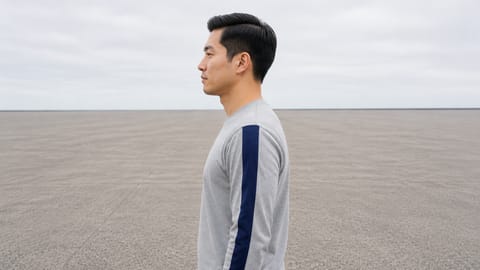 Profile Leftleft profile view
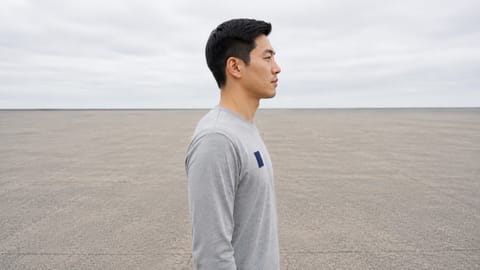 Profile Rightright profile view
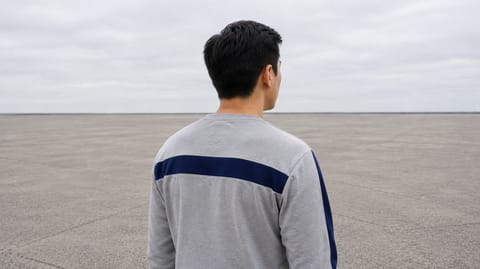 Three-Quarter Backthree-quarter rear view
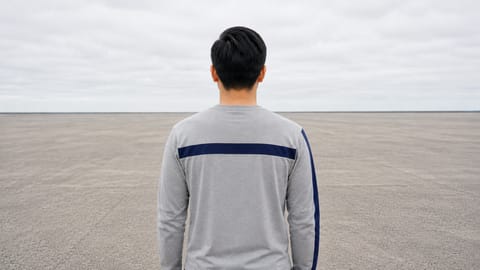 Behindrear view from behind the subject
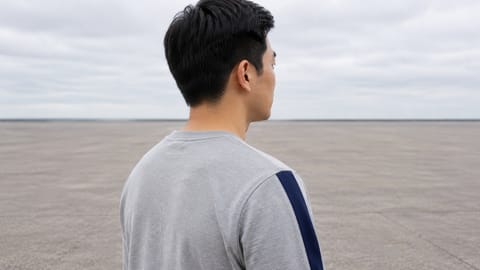 Side-Back Anglethree-quarter view from behind one shoulder
Tips
- Frame a camera move. Connect a Framing picker to the Start state or End state input of a Camera Motion picker. The camera move then starts or ends in that framing.
- Pair the shot with a lens. A Close-up with a Portrait (85mm) Lens flatters a face. A Wide Shot with an Ultra-wide (14mm) lens gives a dramatic perspective.
- Use Pose for the body. Vantage sets where the camera stands. Pose sets how the subject stands.
- Adjust the feel. Use Custom text (before), for example
handheld feel, or Custom text (after), for examplewith subtle dolly-in.
Frequently asked questions
Related
Creative controls
Lens
Camera Motion
Pose
Describe to Picker
Last updated on
Loop Subject
Pick one of 31 loop subjects, such as a neon tunnel, a starfield or falling snow, and build a seamless looping video for streams, screens and ambient visuals.
Lens
Pick one of 18 lenses, from a 14mm ultra-wide and an 85mm portrait lens to fisheye, anamorphic and vintage primes, and Nodaro adds its look to your prompt.