
 Nodaro Docs
Tour of the editor
A tour of the Nodaro editor, from the home screen and sidebar to the canvas, node picker, settings panel, runs, results, the Copilot and keyboard shortcuts.
The Nodaro editor is where you find, build and run your workflows. It has two main screens: the home screen, where your work, templates and tutorials are, and the workflow editor, where you place nodes on a canvas, connect them, set them up and run them. This tour shows each part of both screens and what it is for.
The home screen
The home screen opens after you sign in. At the top are a greeting, two tabs and a New Workflow button, which creates an empty workflow and opens it.
| Tab | What it shows |
|---|---|
| Continue | Jump back in: your workflows and projects, with a filter, a search box, New project and Import JSON. |
| Explore | Start from a template: templates grouped by use case. Level up: tutorials and release notes. Your path: a short checklist for new users. |
On Nodaro Cloud, the Continue tab also shows Nodaro apps, links to Nodaro's other apps, and a Copilot box. Describe a workflow in the box and click Build it: the Copilot builds the workflow for you in a new canvas.
Your path counts three first steps: Create your first image, Connect two nodes into a workflow and Turn it into a MiniApp. As you complete them, your level moves from Newcomer to Explorer, Builder and Creator.
The sidebar
The sidebar on the left of every screen has three sections.
| Section | Entry | What it opens |
|---|---|---|
| Workspace | Projects | The home screen, with your projects and workflows. |
| Templates | Ready-made workflows to copy into your account. See Tutorials and templates. | |
| Tutorials | The Explore tab of the home screen, where the tutorials are. | |
| Explore | The community library of characters, locations, objects and creatures that other people shared. Nodaro Cloud and the Business edition. See Community library. | |
| MiniApps | Apps published from workflows: your own and the ones you can run. See Apps. | |
| Activity | Executions | Every run of your workflows, with its status, duration and credits. |
| My Files | The images, videos and audio in your account, and how much storage you use. | |
| Gallery | The Community Gallery, with what people create with Nodaro. | |
| Account | Integrations | Your connected social accounts for publishing. On a self-hosted install, also the Nodaro Cloud connection and your own model provider keys. |
| Pricing | Plans and credit packs. Nodaro Cloud only. | |
| Billing | Your subscription and credit purchases. Nodaro Cloud only. | |
| Settings | Your account settings, such as API tokens, the visibility of new results in the gallery, remembered defaults and prompt templates. |
Two entries have similar names but open different pages. Tutorials opens the Explore tab of the home screen. The Explore entry opens the community library.
At the bottom of the sidebar are your credit balance, the language switcher and the theme toggle for light or dark mode. The version label there opens the release notes.
The workflow editor at a glance
When you open a workflow, the editor shows these areas:
| Area | Where | What it is for |
|---|---|---|
| Top bar | Top | Back to project, the workflow name, the save status and the More options menu with Export and Import. |
| Editor tabs | Top center | Editor for the canvas, Present for sharing and publishing, Executions for the run history, and Cost on Nodaro Cloud for what the runs cost. |
| Node sidebar | Left | Every node, grouped by tab and family. Click a node to add it. Ctrl+B shows or hides it. |
| Canvas | Center | Where the nodes and connections are. |
| Canvas toolbar | A vertical rail on the canvas | Add Node, Components, search, My Library, Media Library, Add Sticky Note, Tidy Up, Clear all results, Undo, Redo and Keyboard shortcuts. You can drag the rail to another place. |
| Settings panel | Right | The settings of the node you open. |
| Run bar | Bottom center | Execute workflow, with the credit estimate. During a run, it shows the progress. |
| Copilot | Left, beside the canvas | The Copilot panel, on Nodaro Cloud. |
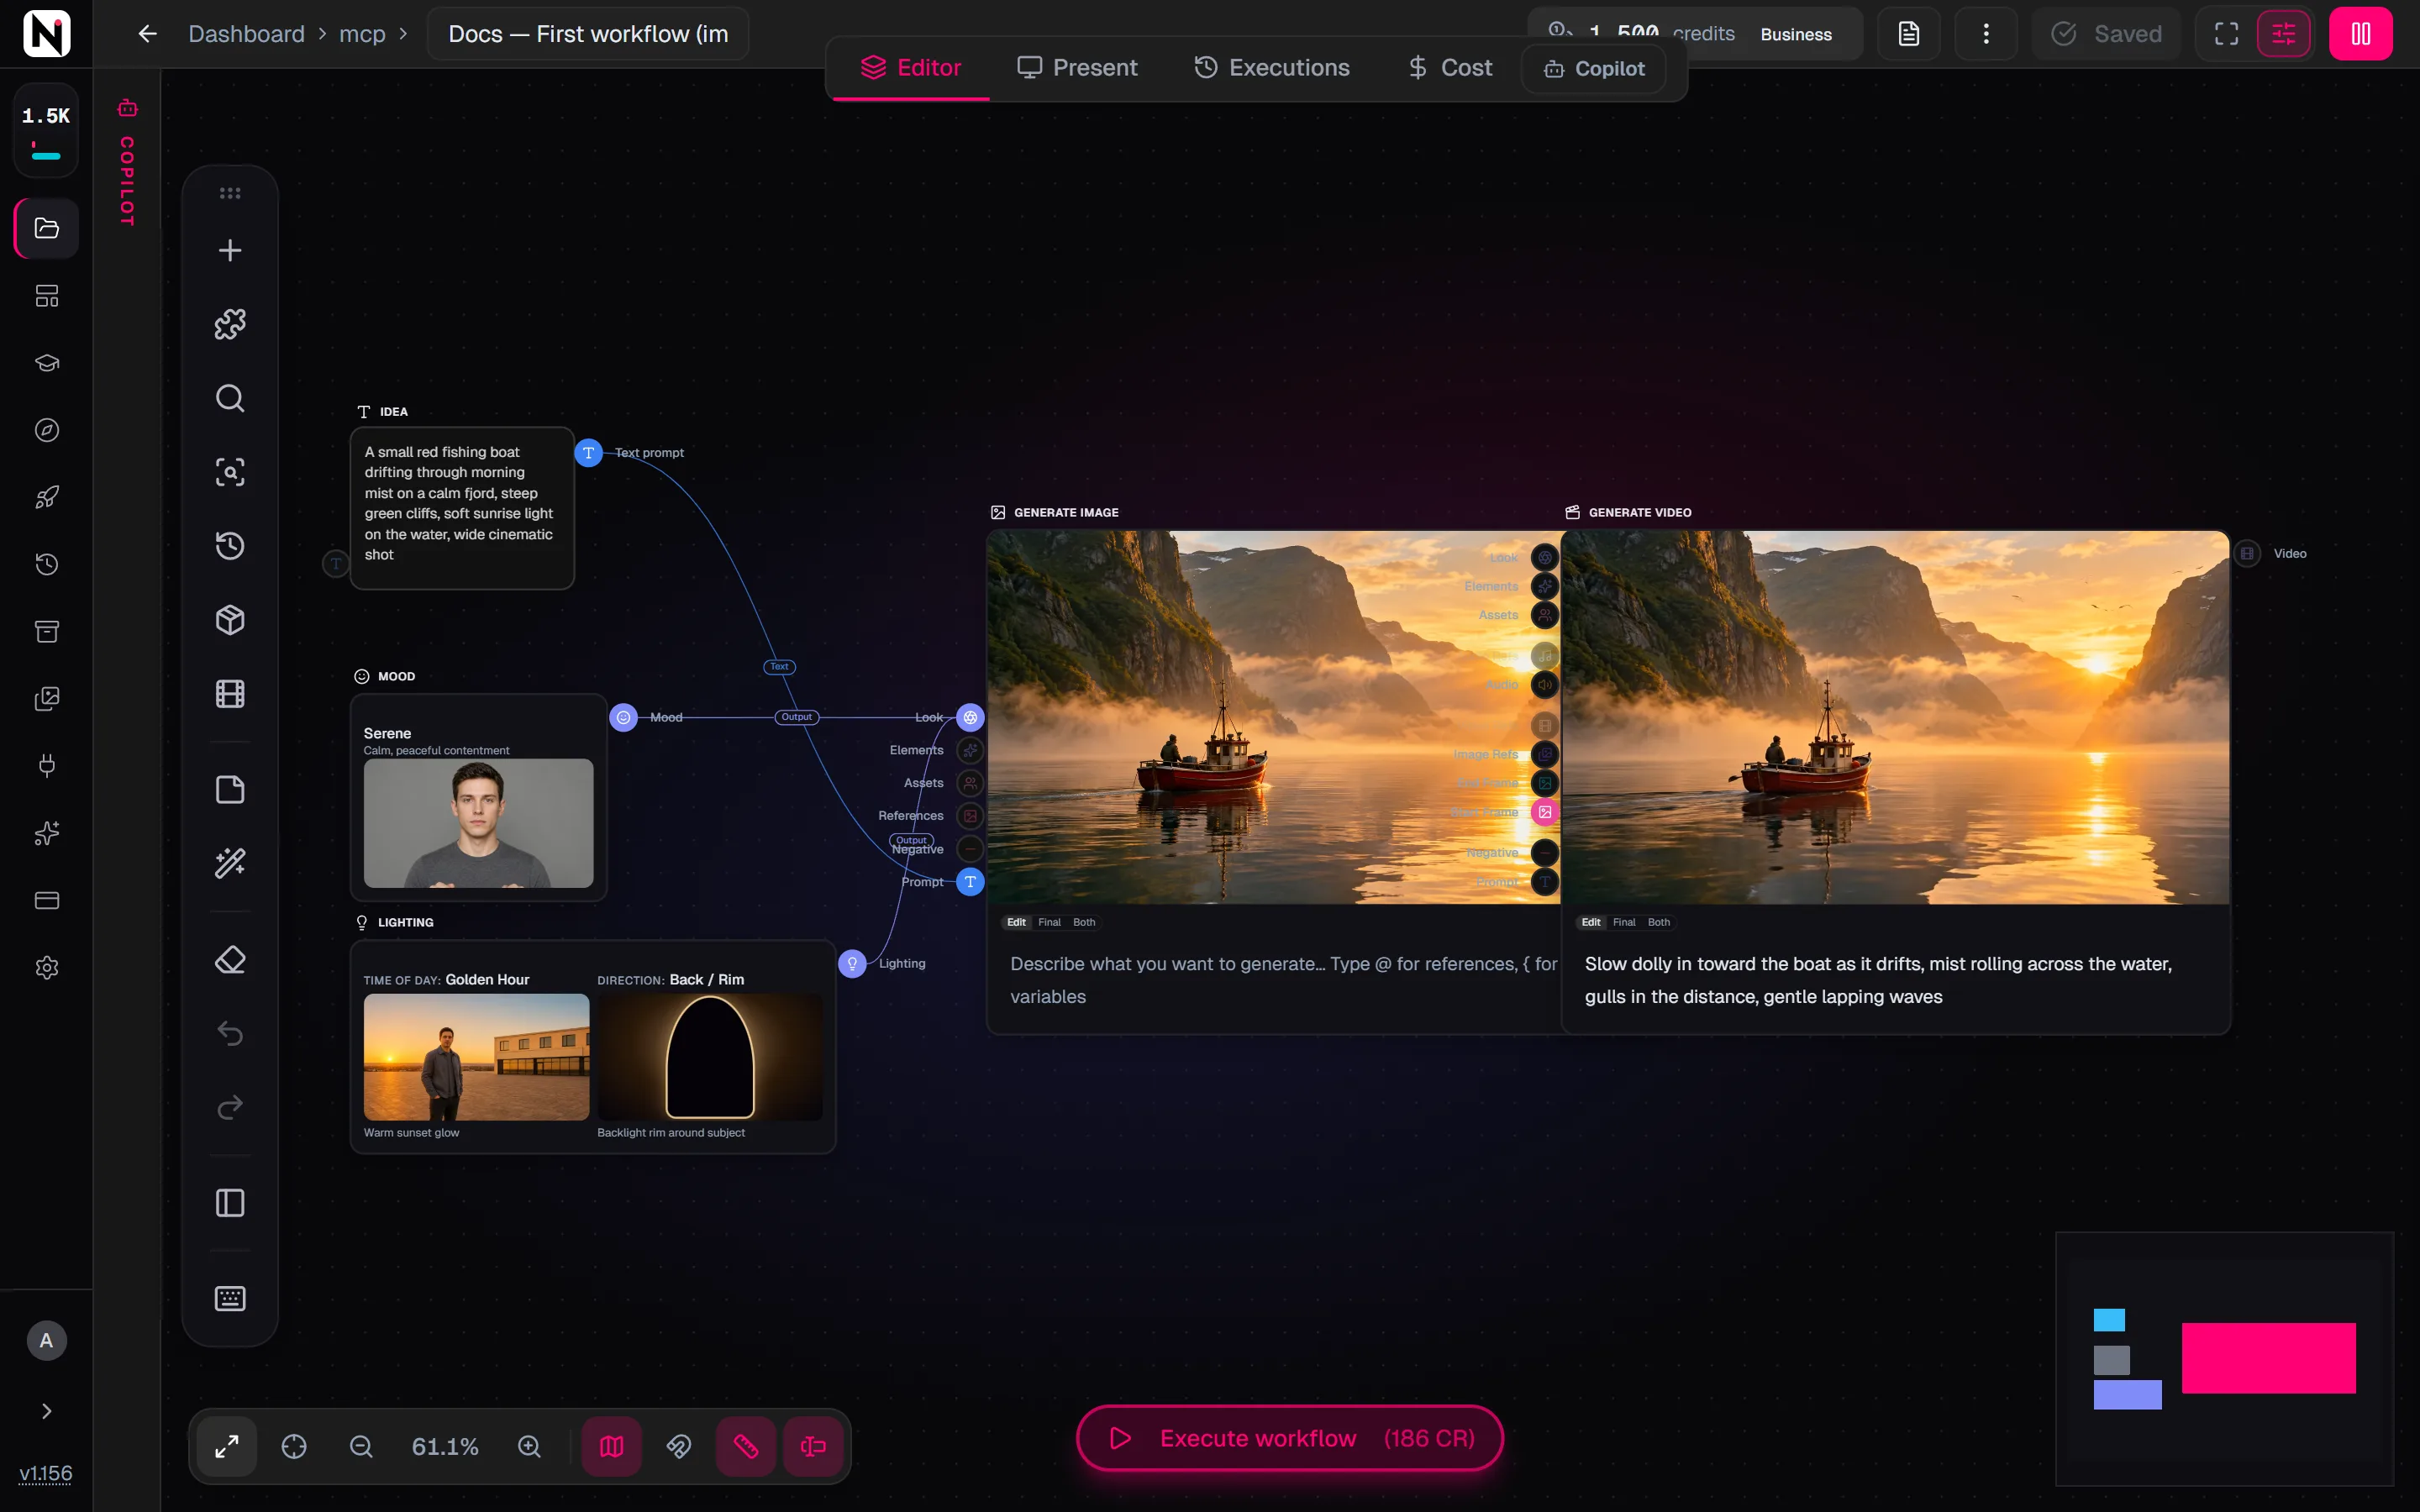
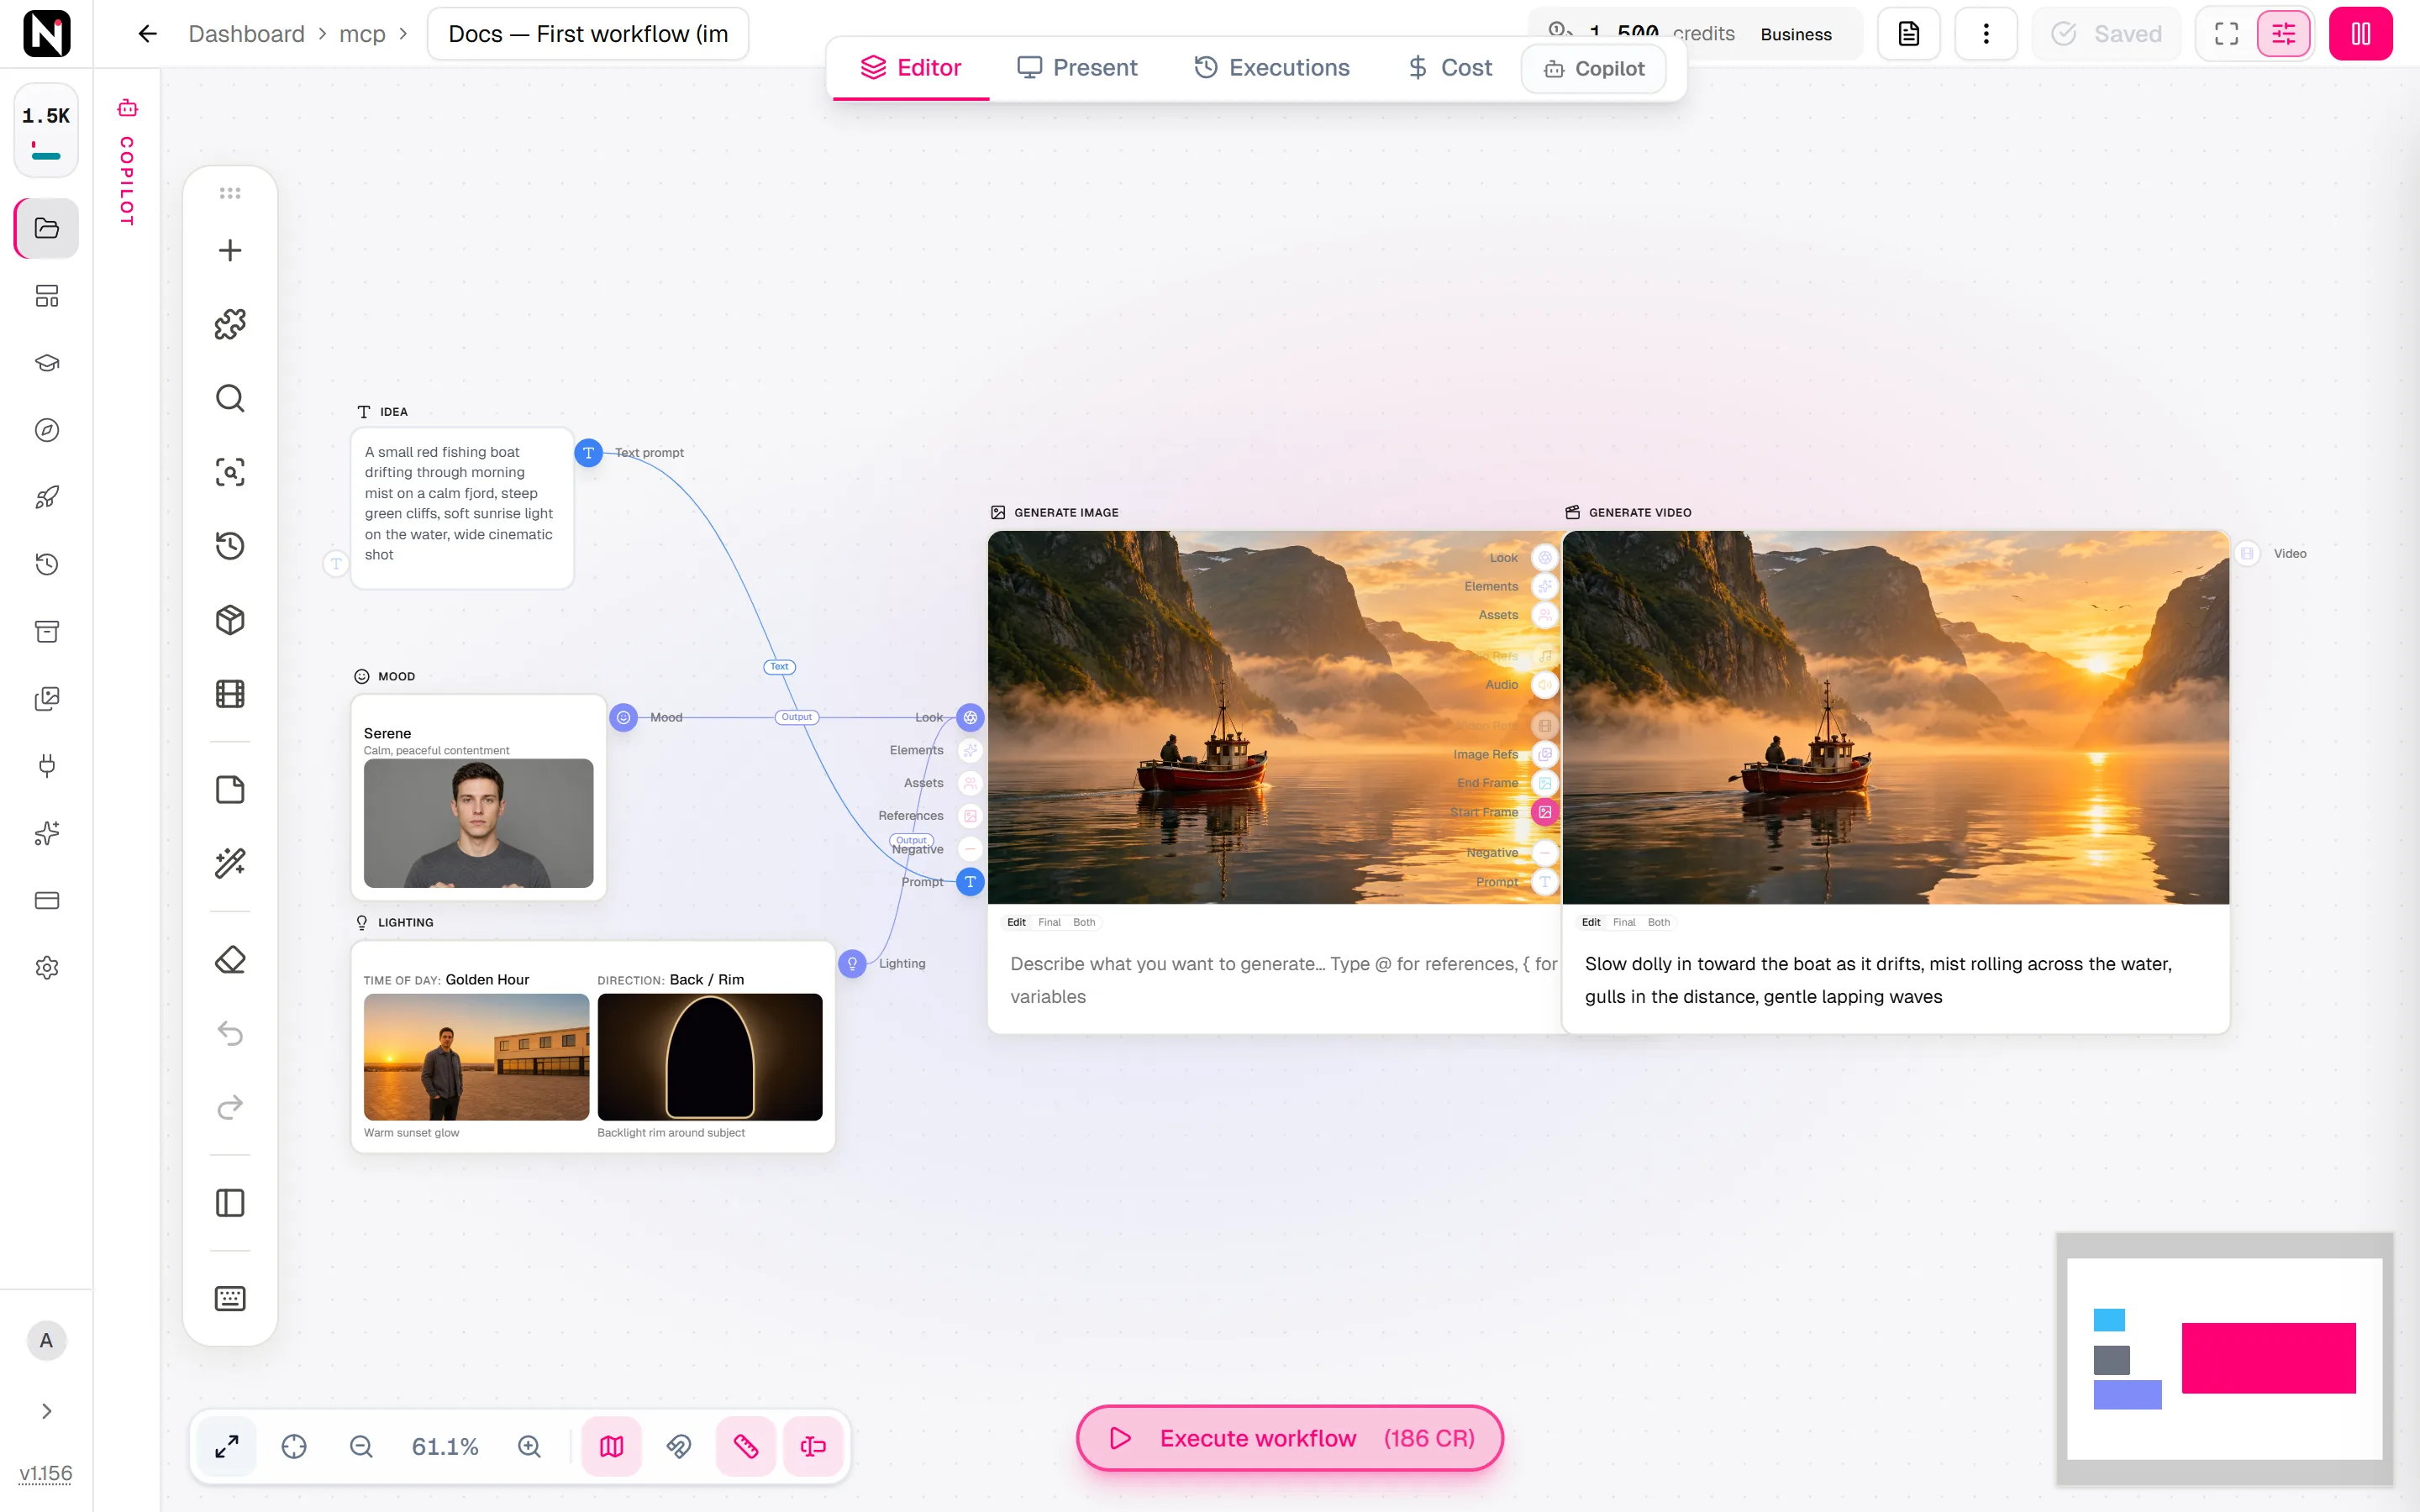
The editor saves your workflow automatically a few seconds after each change. The top bar shows Saved, Saving..., Unsaved or Save failed. Press Ctrl+S to save at once.
The canvas
The canvas is the space where you place and connect nodes. Each node does one job, and each connection carries a result from one node to the next. Nodes and connections explains both in detail.
- Move around. Drag the empty canvas, or scroll. Pinch to zoom, or press Alt+= and Alt+-.
- Select. Click a node to select it. Hold Shift and drag to select several nodes, or press Ctrl+A to select all.
- Act on a node. Right-click a node for Run, Run from here, Skip Node, Duplicate and Delete. With several nodes selected, Run selected runs only those.
- Organize. Tidy Up arranges the nodes in order. A Sticky Note holds a comment, and a Group keeps related nodes together.
- Find. Find in workflow searches the nodes of this workflow by type, name, model or prompt.
- Undo. Undo and Redo in the canvas toolbar, or Ctrl+Z, work while the editor is open.
The node picker
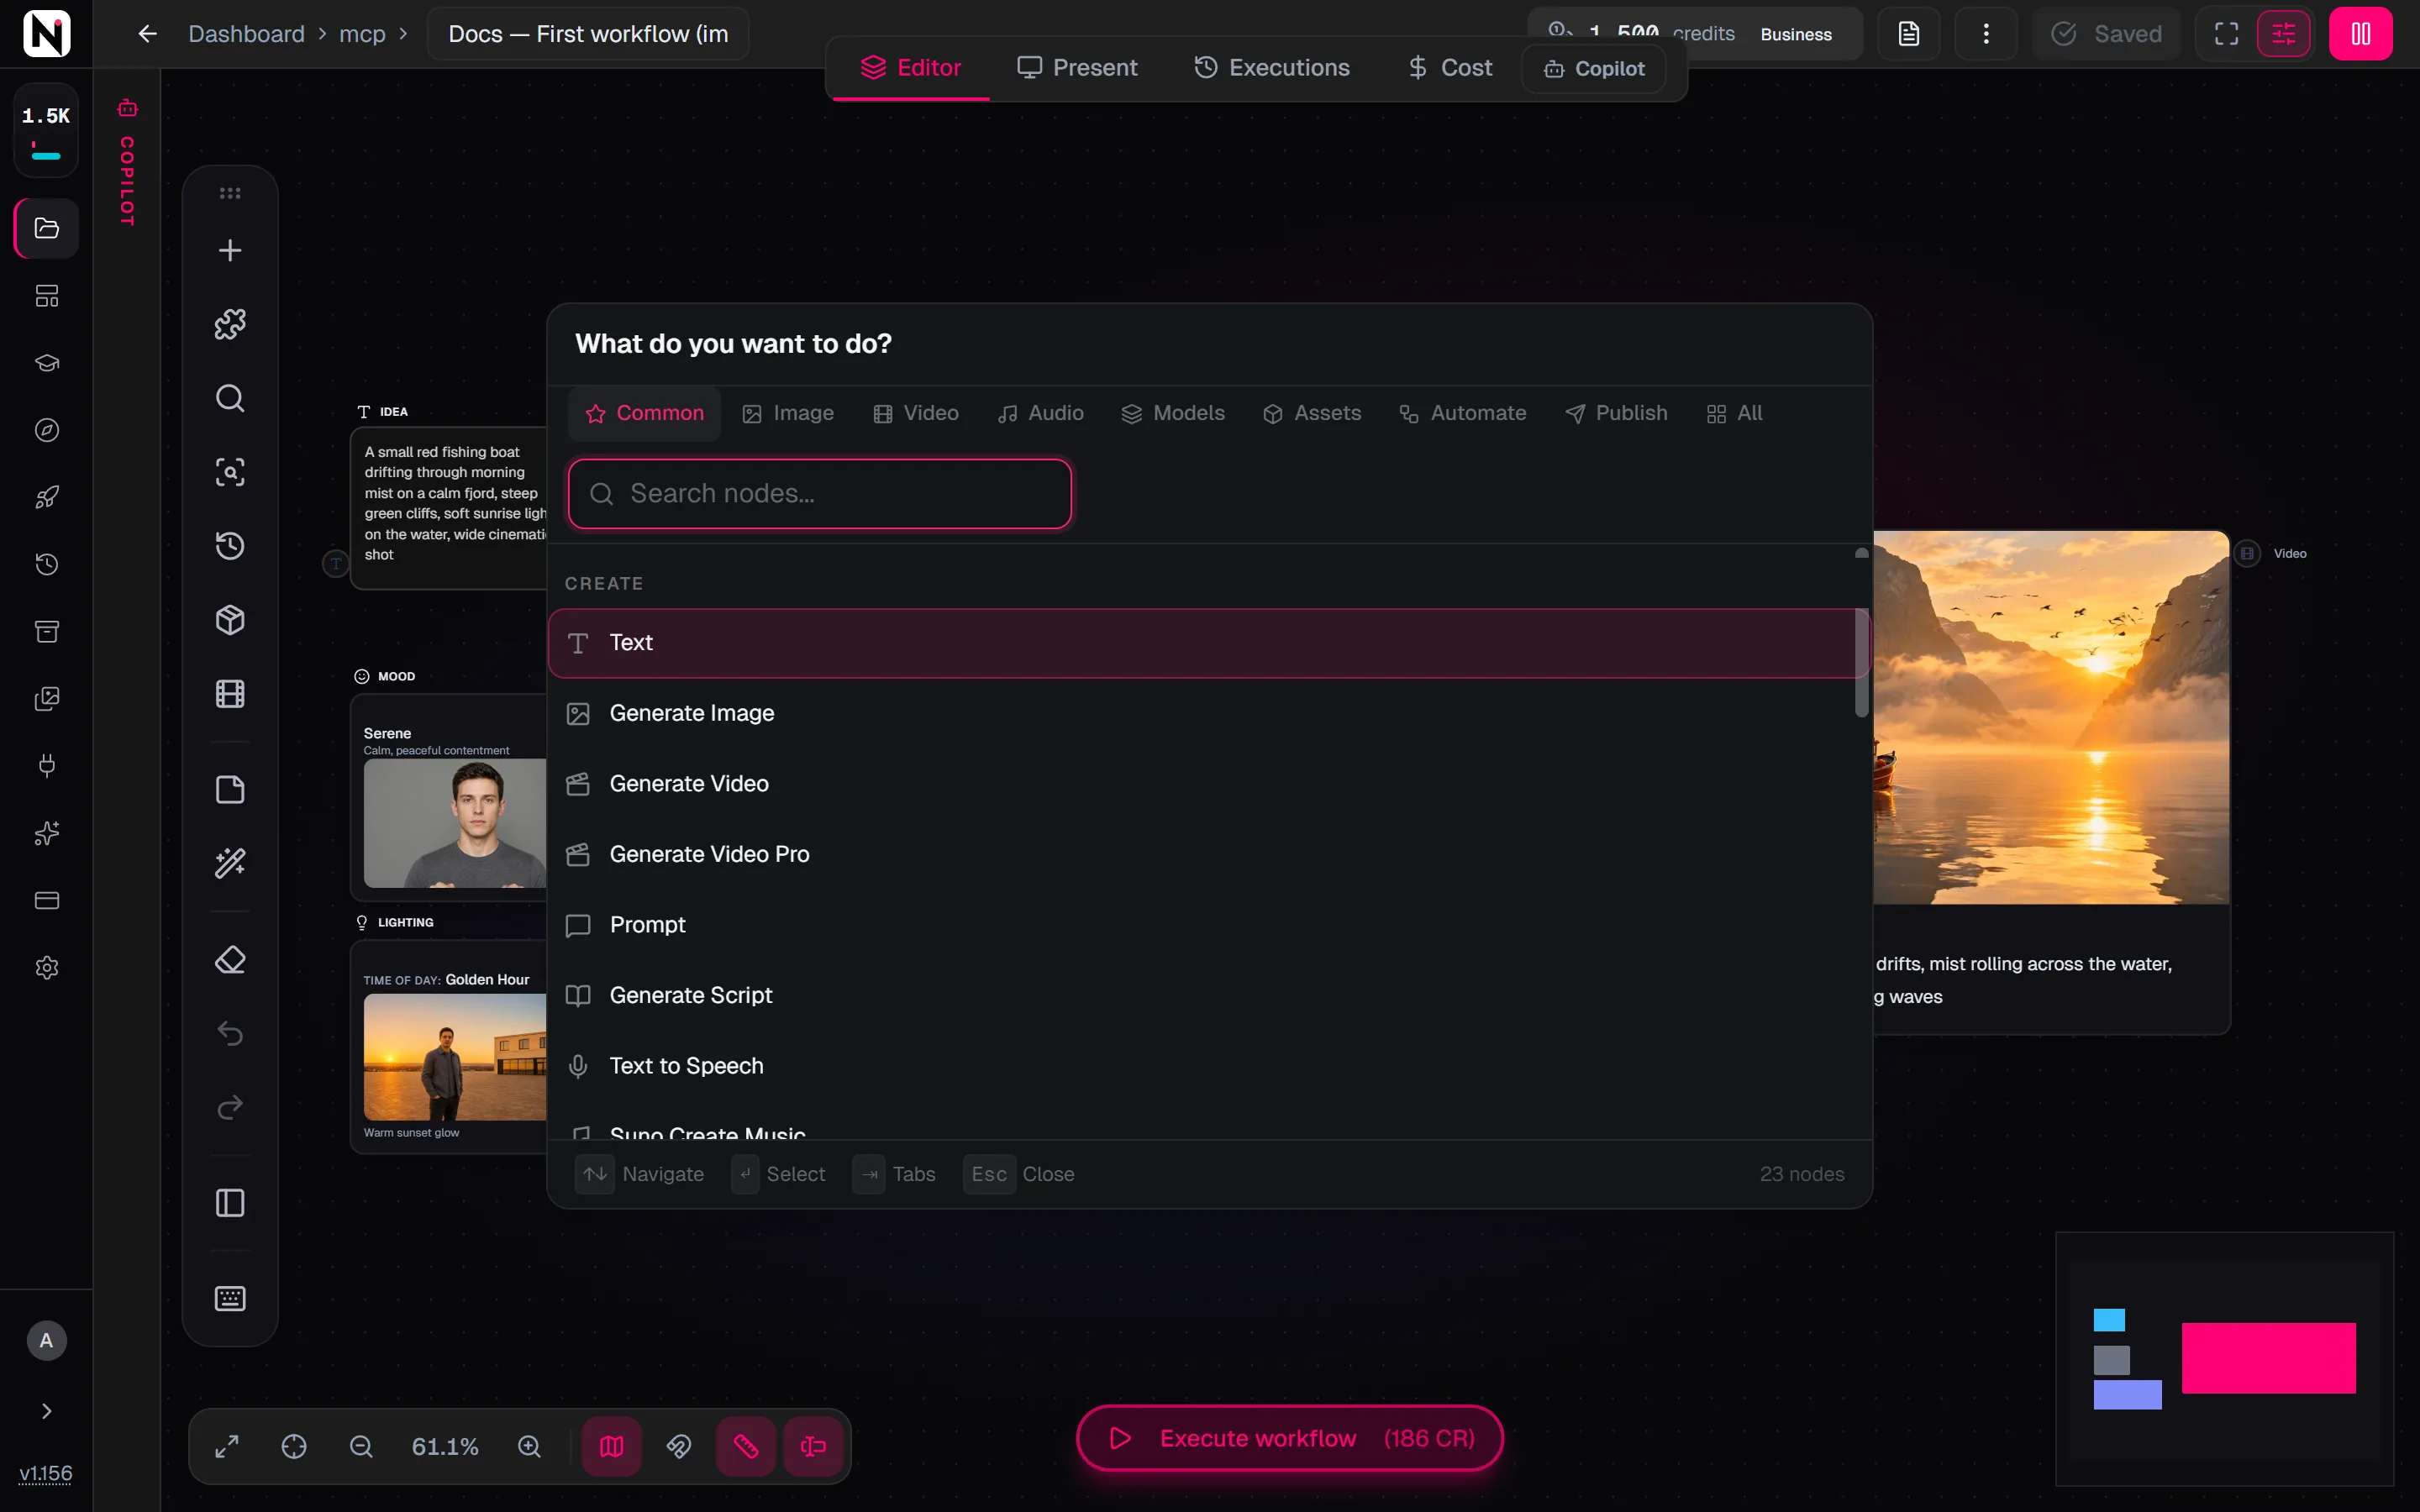
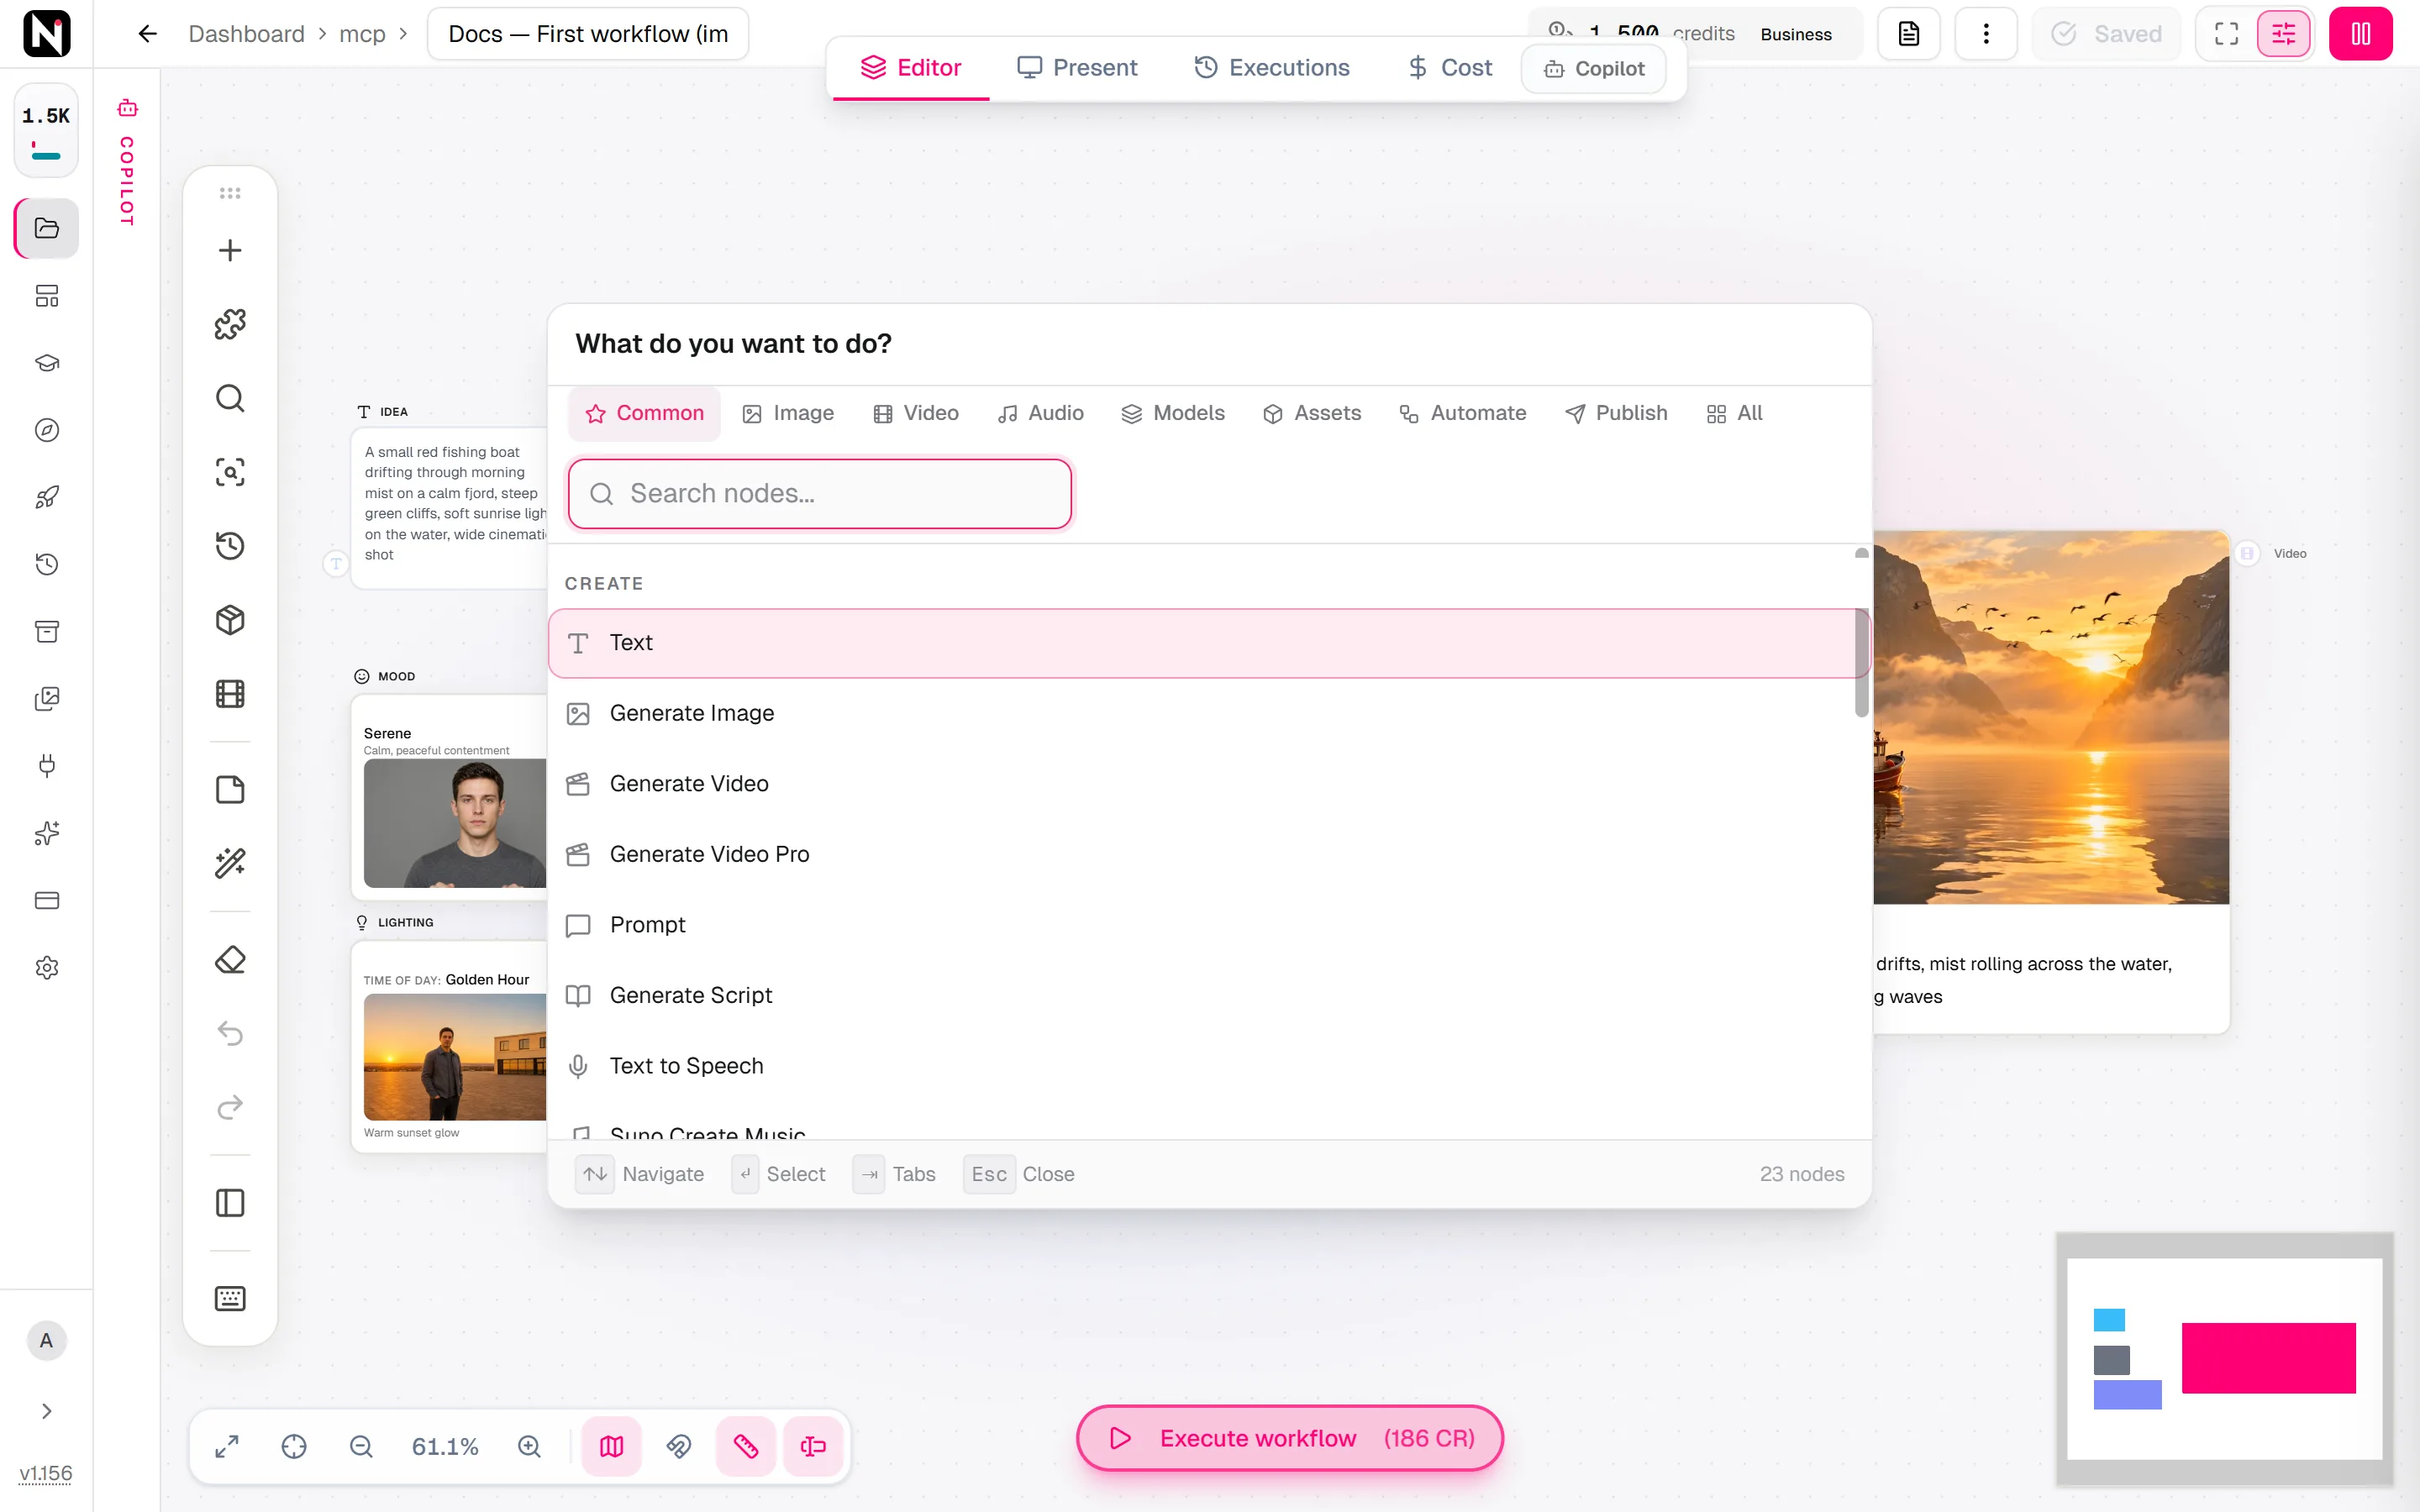
The node picker is the menu you add nodes from. It groups every node by what you want to do.
- Press Tab on the canvas to add a node where the pointer is.
- Click Add Node in the canvas toolbar.
- Drag a connection from a node and drop it on empty canvas. The picker then shows only the nodes that can connect there, and connects the new node for you.
| Tab | What it holds |
|---|---|
| Common | A short list of the most used nodes, in six groups: Create, Edit, Add Your Own, Build Once, Reuse, Batch and Finish. Every node here also appears on its own tab. |
| Image | Add Your Own, Create, Edit & Retouch, References and Understand. |
| Video | Add Your Own, Create, Story & Script, Animate & Perform, Continue & Restyle, Cut & Assemble, Sound for Video, Titles, Graphics & Captions, Format & Export and Analyze. |
| Audio | Add Your Own, Speech & Voiceover, Voices, Music, Sound Effects, Clean & Separate, Analyze, Edit Audio and Transcribe. |
| Models | Every model, grouped by series. Choosing a model adds the node that runs it, with the model already selected. Below the models are the Generation Settings nodes, such as Provider and Aspect Ratio. |
| Assets | Characters, Creatures, Places and Objects: the nodes that keep a subject the same in every image and video. |
| Automate | Triggers, Get Content, Text, Lists & Batching, Logic & Data, Workflows and Canvas. |
| Publish | One-Click, Platforms and Export: the nodes that post or save your results. |
| All | Every family of every tab in one list. |
The Image, Video and Audio tabs show up to three popular nodes at the top. They also end with a collapsed Creative Controls block with the pickers, such as Lighting, Framing and Mood. Click Show to open it.
Search. Type in the search box to find a node by name, or a model by name, company or setting. Results from the current tab come first, then models, then matches From other tabs, each marked with its tab. Use the arrow keys to move, Enter to choose and Esc to close.
Auto Connect. When a node is selected and Auto Connect is on, the new node connects to it. A small dialog lets you name the new node and choose the connection, or choose Don't connect (just add).
The node reference documents every node, tab by tab.
The settings panel
The settings panel shows every setting of one node. To open it, double-click the node, press Enter with the node selected, or click the settings button in the strip under the node. Close it with its close button or Esc.
From top to bottom, the panel shows:
- Label: the name of the node on the canvas. A clear label makes a large workflow readable, and you can use it as a prompt variable.
- Presets: a menu of saved settings for this node. See Presets.
- The node's settings, such as Provider, Prompt, Aspect Ratio or Duration. The settings change with the model you choose.
- Pre & post text, on nodes with a prompt: text added before and after the prompt at run time. See Prompt pre and post text.
- Results: the results of the node, when it has any.
- Repeat, on generation nodes: run the node up to 20 times in one click.
- Run This Node and Run from here.
Click Expand to full screen to give the panel the whole window, for example to browse a picker's options. Ctrl+I does the same.
Running nodes and workflows
| Button | Where it is | What runs |
|---|---|---|
| Run | In the strip under a node | Only this node, with the current results of the nodes before it. |
| Run from here | Under a Text node, in the right-click menu, or in the settings panel | This node and every node after it, in order. |
| Run selected | In the right-click menu, with several nodes selected | Only the selected nodes. |
| Execute workflow | At the bottom of the canvas | Every node in the workflow, in order. Nodaro asks you to confirm first. |
On Nodaro Cloud, each button shows its price in credits before you click it. While a node runs, its Run button becomes Stop, which also lets you discard the run or run it again. Running workflows explains progress, stopping, failures and refunds.
Results and versions
When a node finishes, its result appears on the node. Point at the result to download it, open it full screen, or delete it.
Every new run of a node adds a result and keeps the earlier ones. When a node has more than one result, a counter appears on it. Click the counter to see every version and choose one. The version you choose is the one that the next node receives.
Clear all results, the eraser button in the canvas toolbar, removes every result from the canvas and keeps your prompts, settings and uploads. Your files stay in your account, and Undo brings the results back. See Running workflows.
The Copilot
On Nodaro Cloud, the Copilot builds and edits workflows from a description. Open its panel with the Copilot button beside the editor tabs, the narrow COPILOT tab beside the canvas, or Ctrl+J. It adds and connects nodes while you watch, and it never starts a run without your permission. Read Build a workflow with the Copilot.
Language and theme
The language switcher at the bottom of the sidebar changes the language of the whole app in one step: the menus, the picker catalogs, dates and numbers, and the Copilot's answers. Signed in, your choice is saved to your account and follows you to other devices. Node names and model names stay the same in every language, and the canvas keeps its left-to-right layout. See Languages.
The theme toggle next to it switches between the light and the dark theme.
Keyboard shortcuts
Press ? in the editor to see every shortcut. On a Mac, use ⌘ where this table says Ctrl.
| Shortcut | What it does |
|---|---|
| Tab | Add a node where the pointer is |
| Enter | Open or close the settings panel of the selected node |
| Ctrl+E | Open or close the prompt editor of the selected node |
| Ctrl+S | Save the workflow |
| Ctrl+Z | Undo |
| Ctrl+Shift+Z | Redo |
| Ctrl+D | Duplicate the selected nodes |
| Delete | Delete the selection |
| Ctrl+F | Find a node in this workflow |
| Ctrl+K | Search your projects and workflows |
| Alt+T | Tidy up the canvas |
| Shift+S | Add a sticky note |
| Ctrl+J | Show or hide the Copilot panel |
| Ctrl+B | Show or hide the node sidebar |
| Ctrl+M | Show or hide the Media Library |
| Ctrl+L | Open My Library |
| Alt+F | Show the result of the selected node full screen |
| Esc | Close a panel or clear the selection |
My Library holds your saved characters, locations, objects and creatures. The Media Library holds your images, videos and audio, ready to add to the canvas. See Assets and media.
Frequently asked questions
Related
Build your first workflow
Nodes and connections
Running workflows
Build a workflow with the Copilot
Node reference
Last updated on
Quickstart
Sign in to Nodaro Cloud with Google, use your free credits, copy a template or tutorial into your account, run it and download the finished result.
Build your first workflow
Build a workflow step by step in Nodaro, from a text prompt to an image, a video and a voiceover, and learn how to connect nodes, run them and change models.