5-Minute Quickstart
Create your first AI video workflow in Nodaro, from text prompt to rendered video in under five minutes.
Prerequisites
You need a Nodaro account. Sign up for free at app.nodaro.ai. The free tier includes 50 credits, enough to follow this tutorial.
Create Your First Workflow
Create a Project
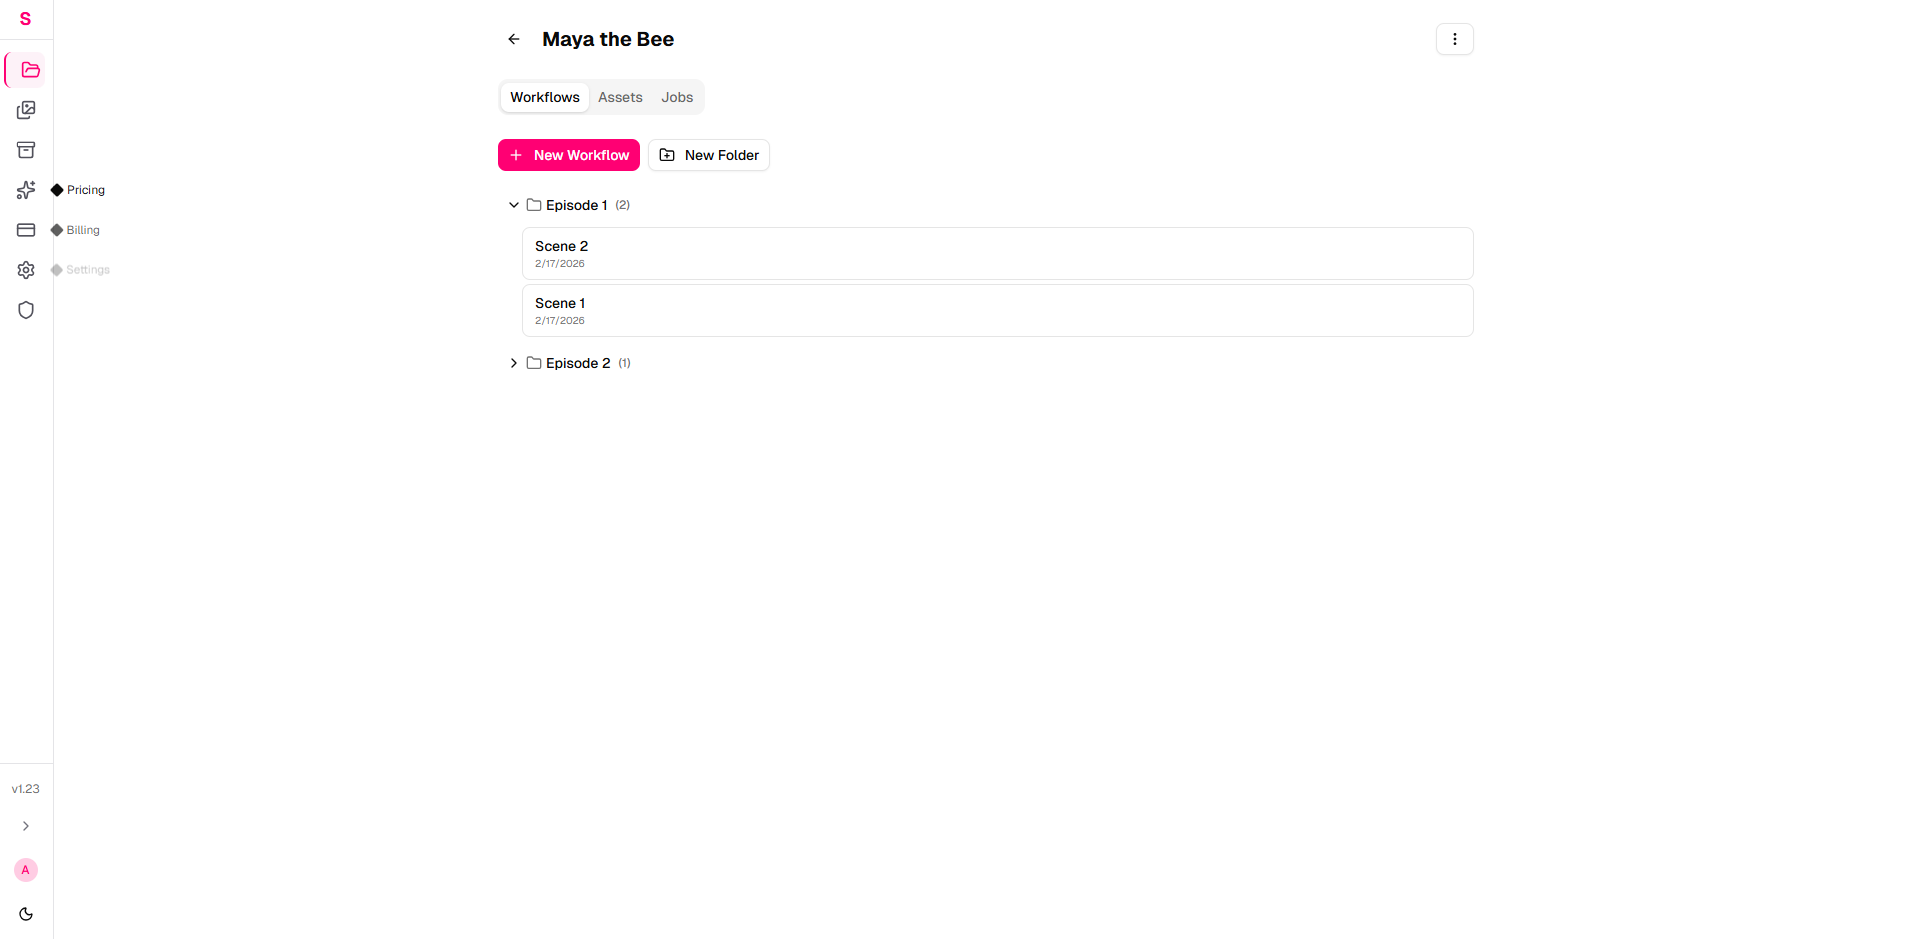
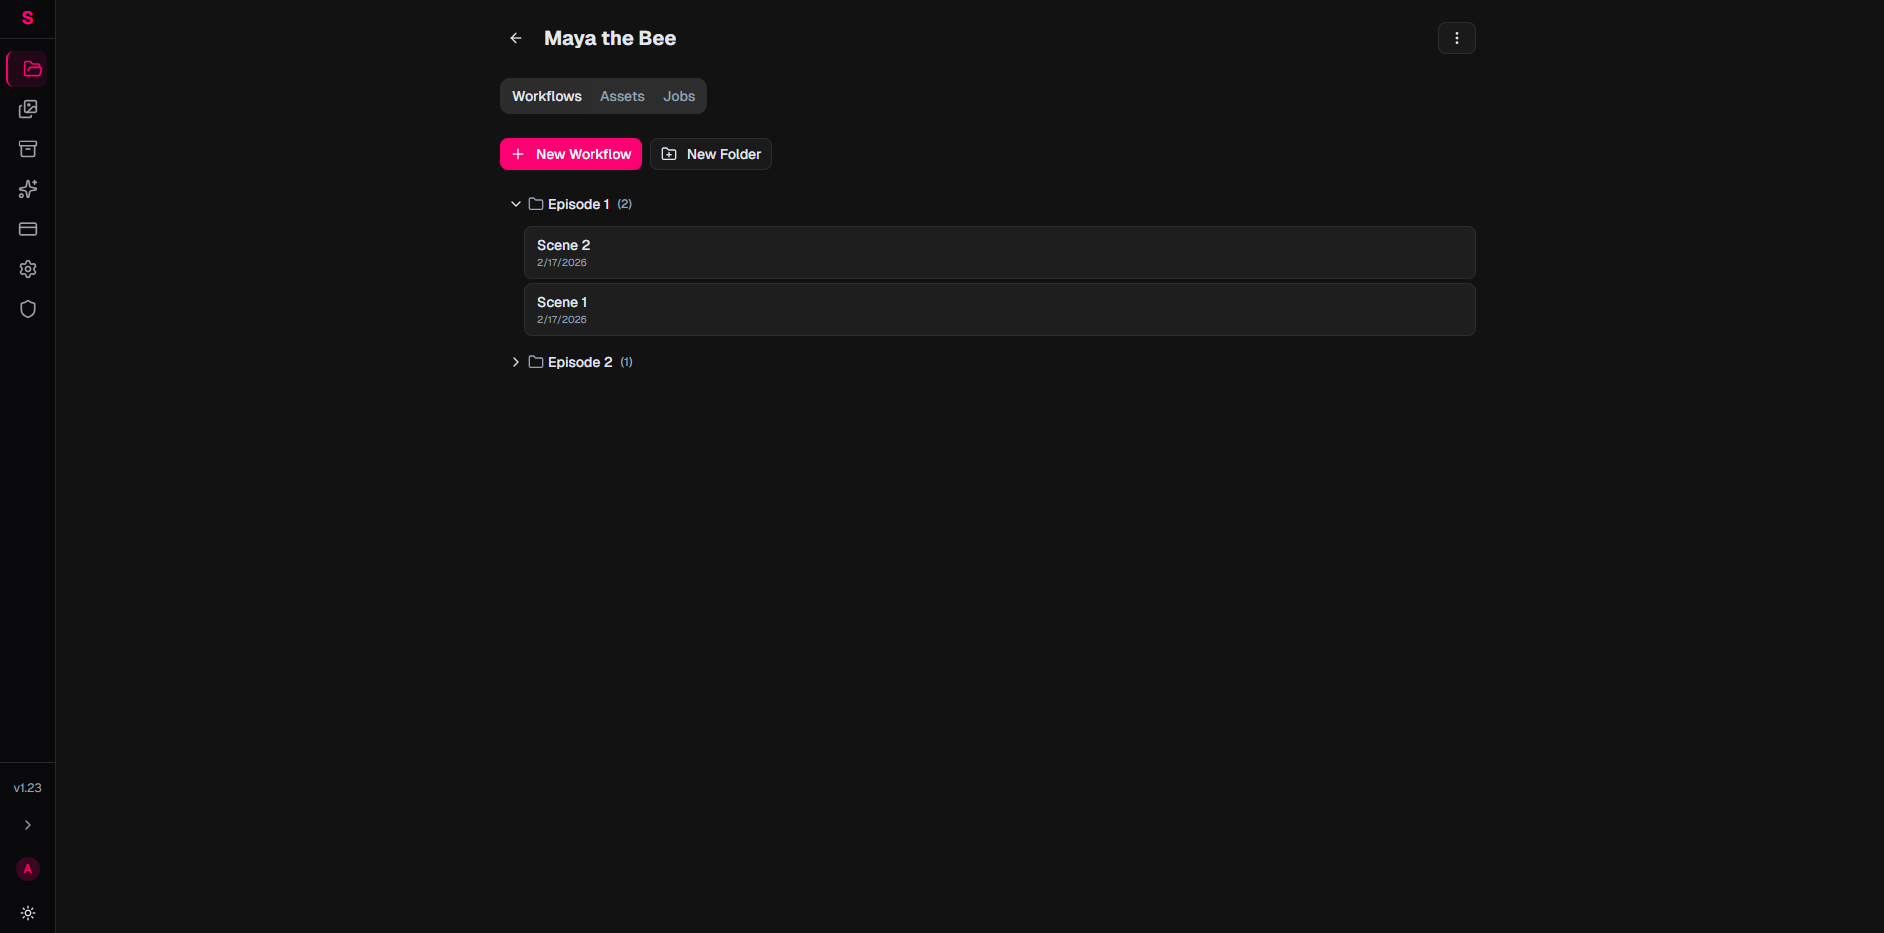
Go to app.nodaro.ai and sign in with Google. You will land on the Projects page. Click New Project and give it a name, for example "Maya the Bee Cartoon".
Create a Folder
Inside your project, click New Folder. Name it "Episode 1".
Folders organize your workflows within a project.
Open the Workflow Editor
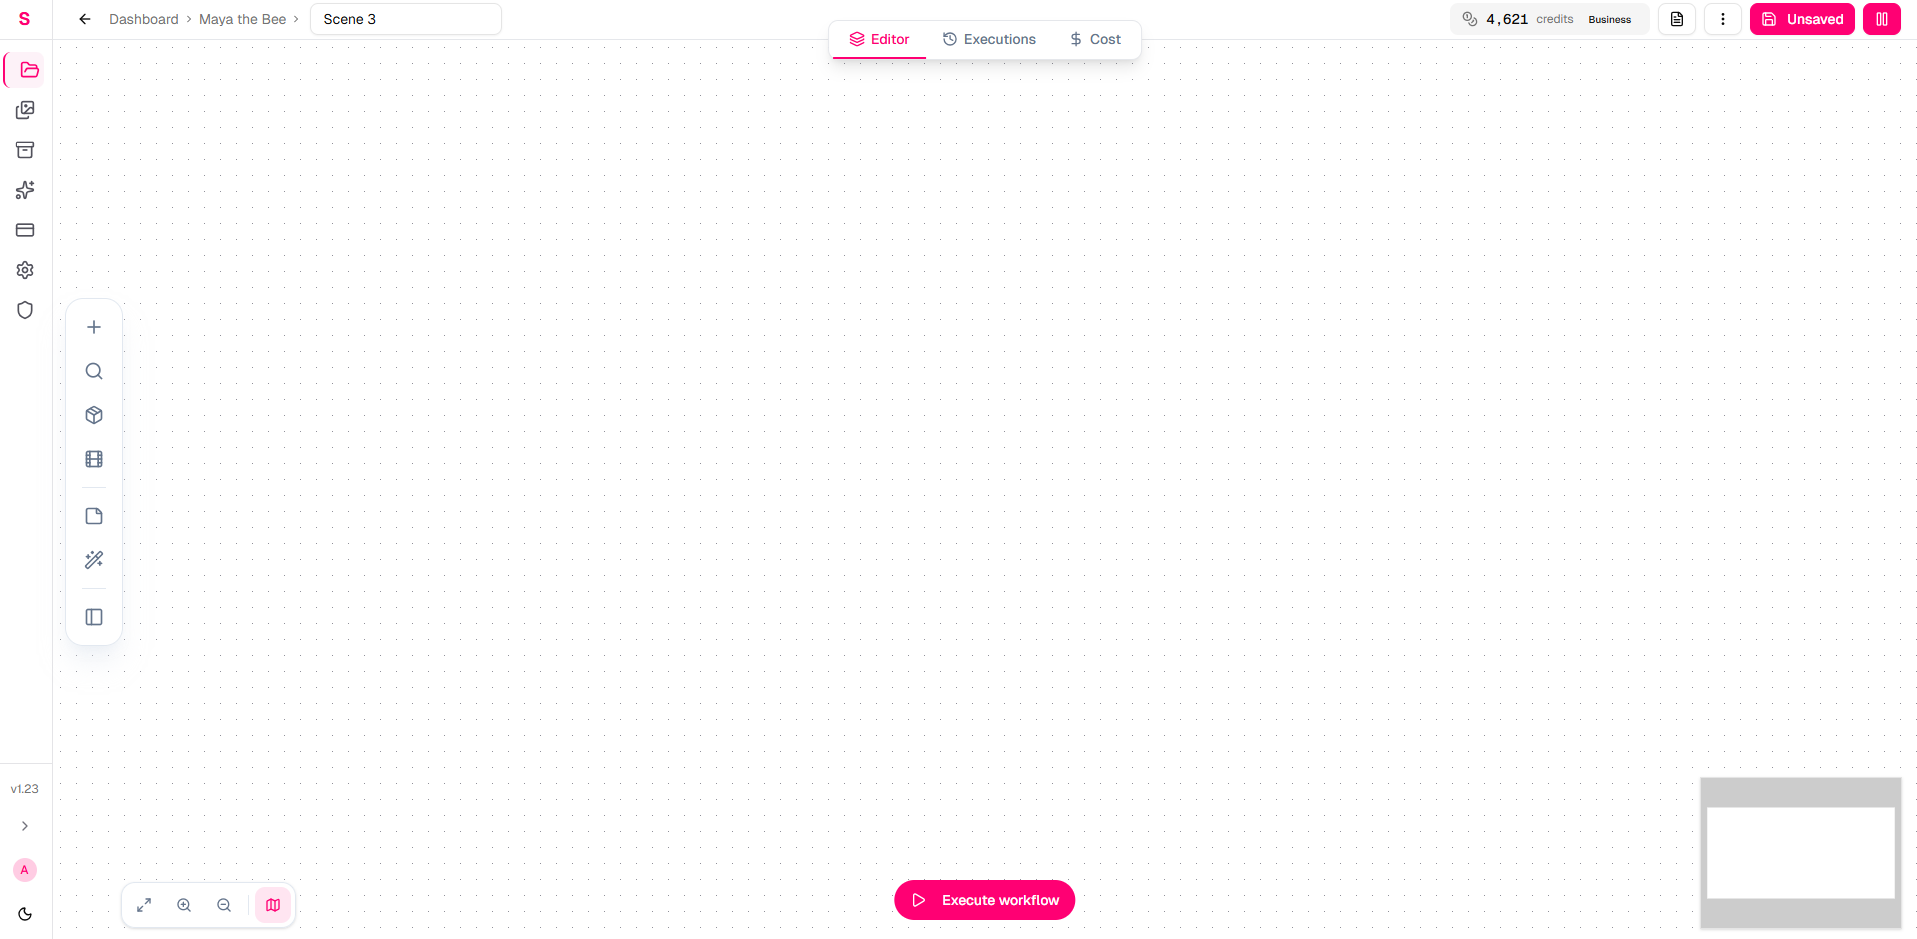
Inside the folder, click New Workflow. Name it "Scene 1 - Maya meets the garden".
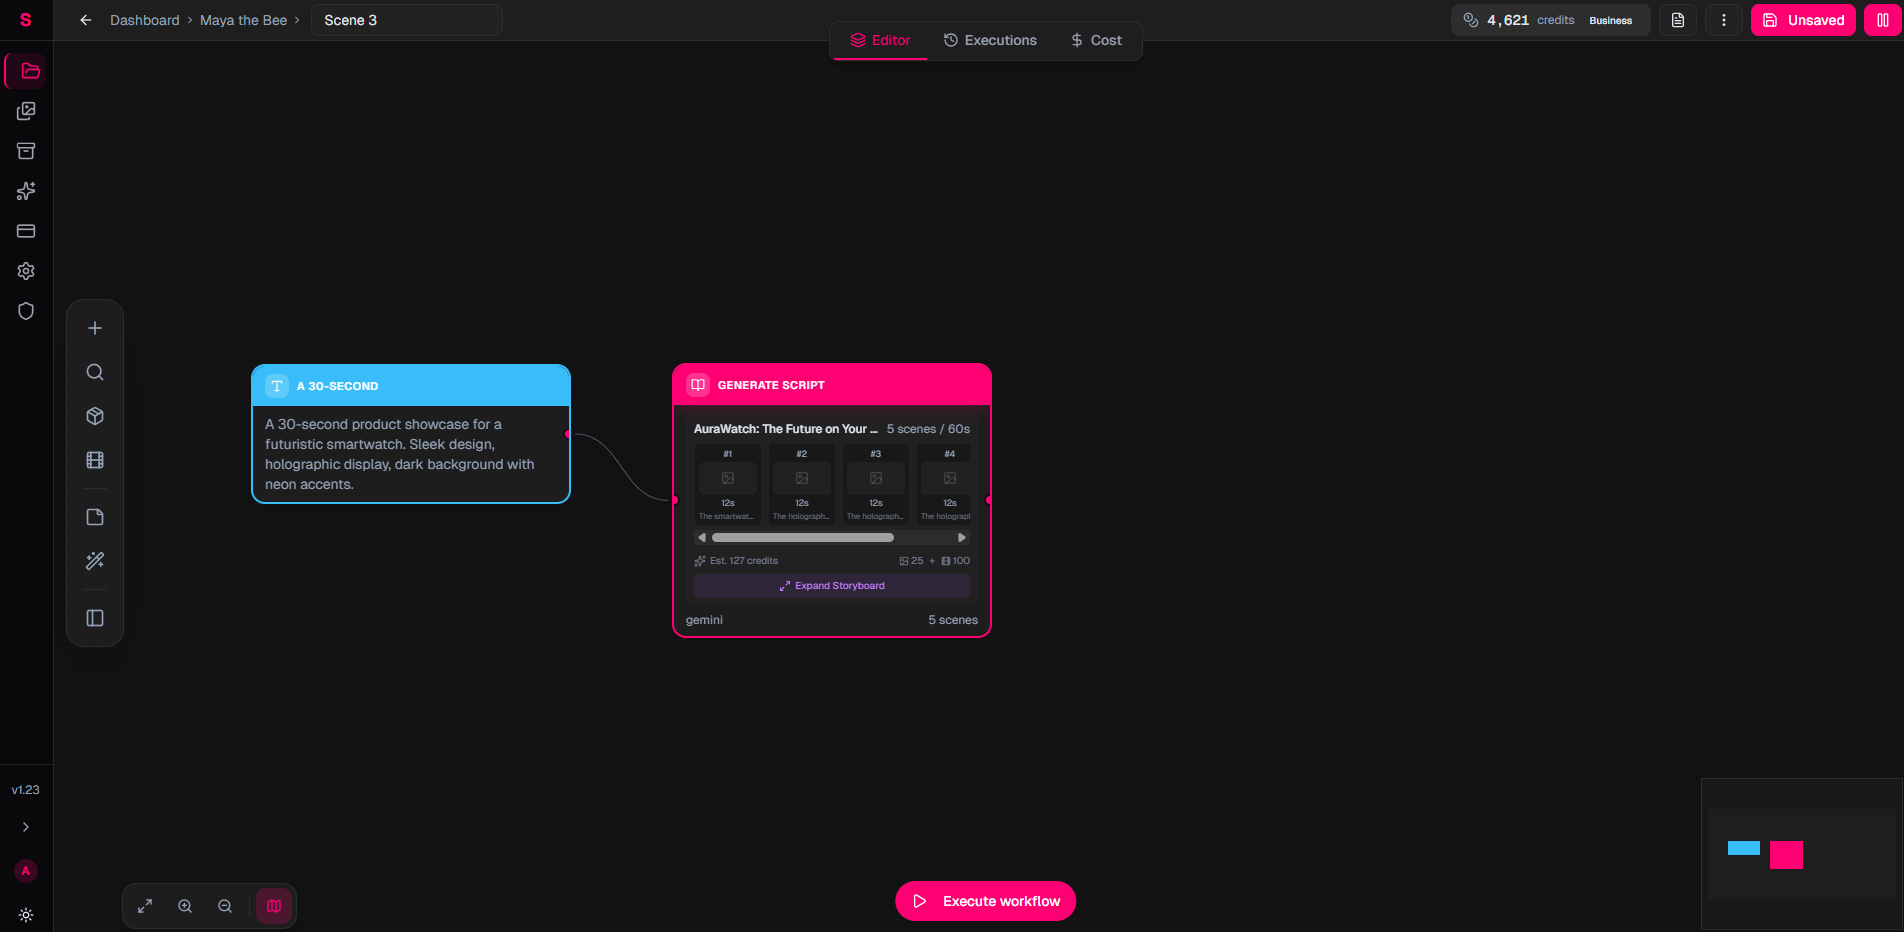
This opens the visual canvas editor. You will see an empty canvas with a toolbar on the left.

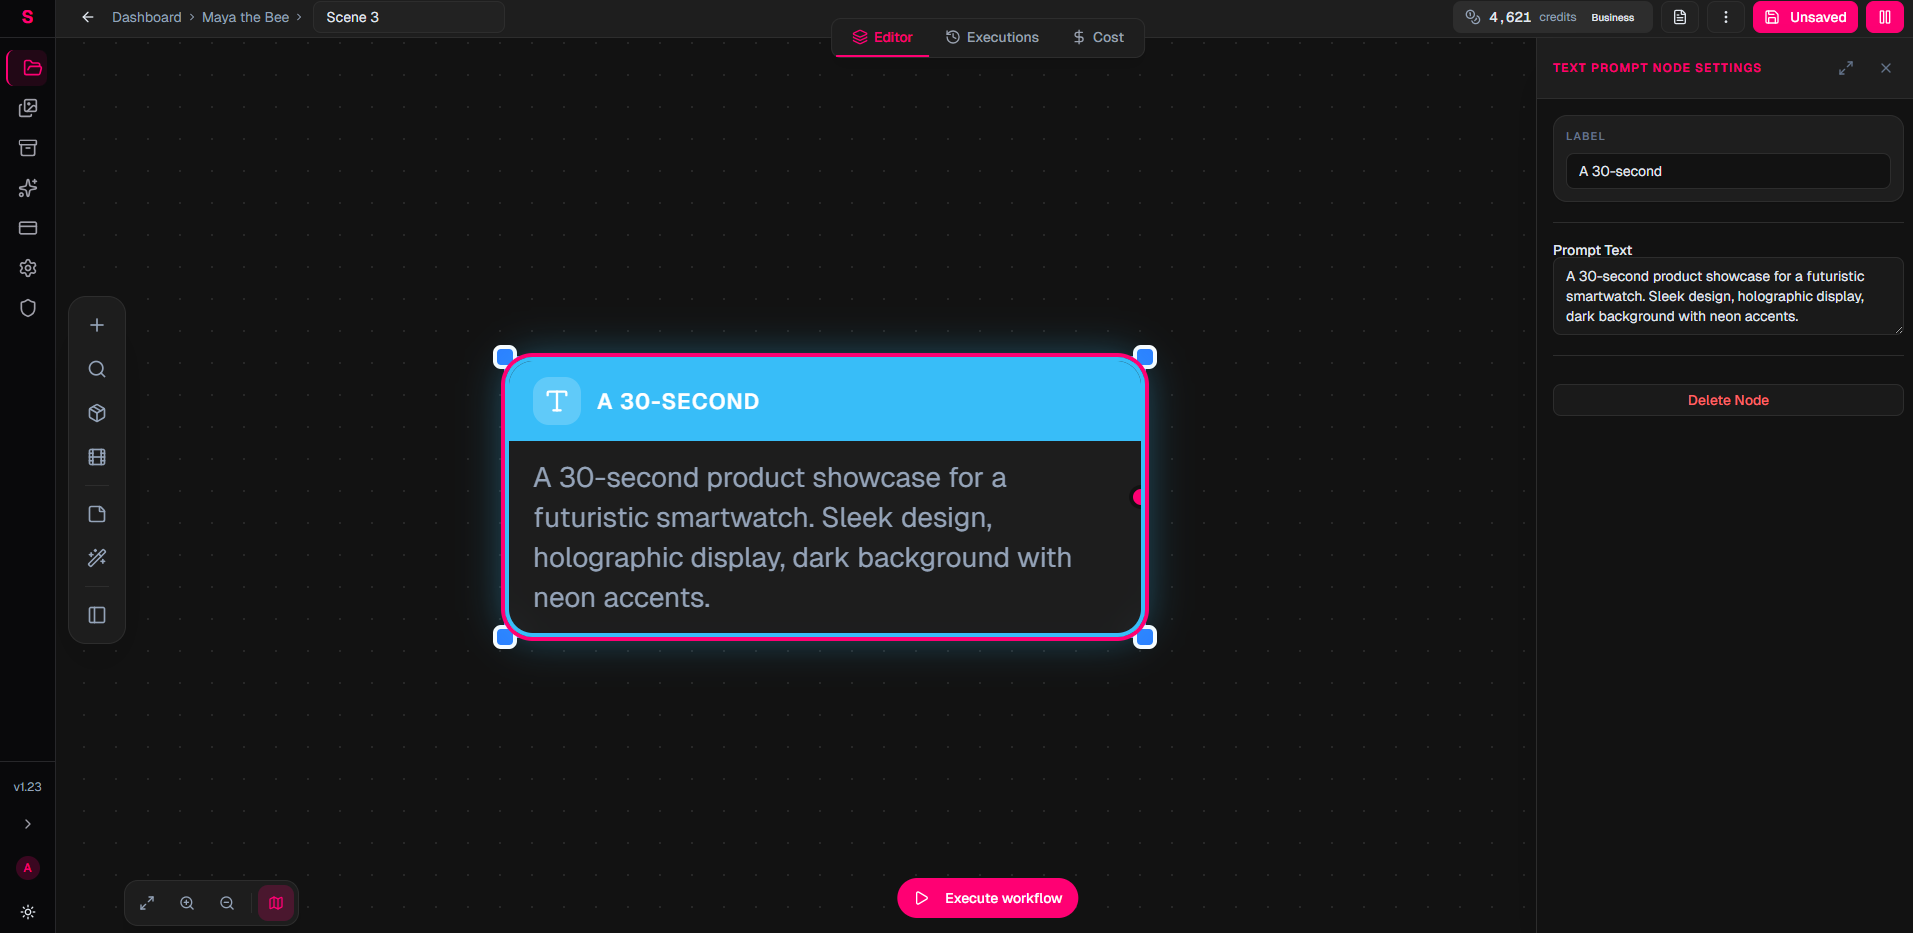
Add a Text Prompt Node
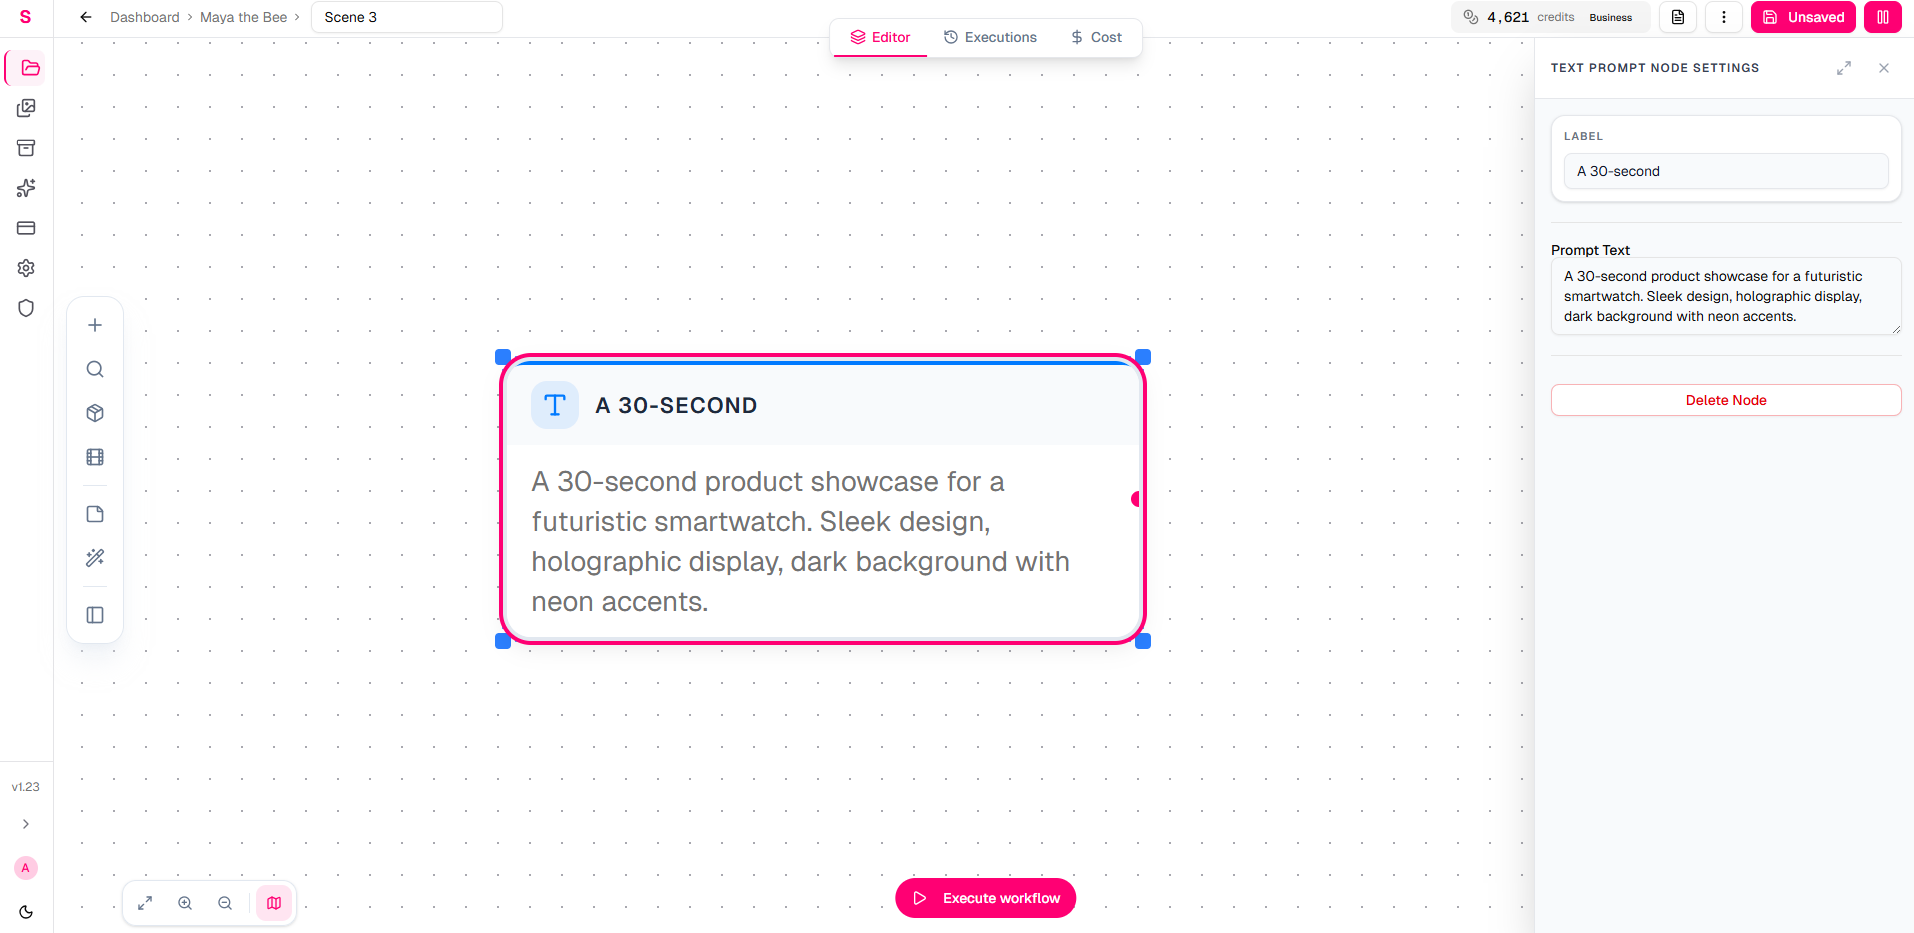
Click the + button in the toolbar (or right-click the canvas) and select Text Prompt from the Input category.
This node is where you type the concept for your video.
Type something like:
A 30-second product showcase for a futuristic smartwatch. Sleek design, holographic display, dark background with neon accents.
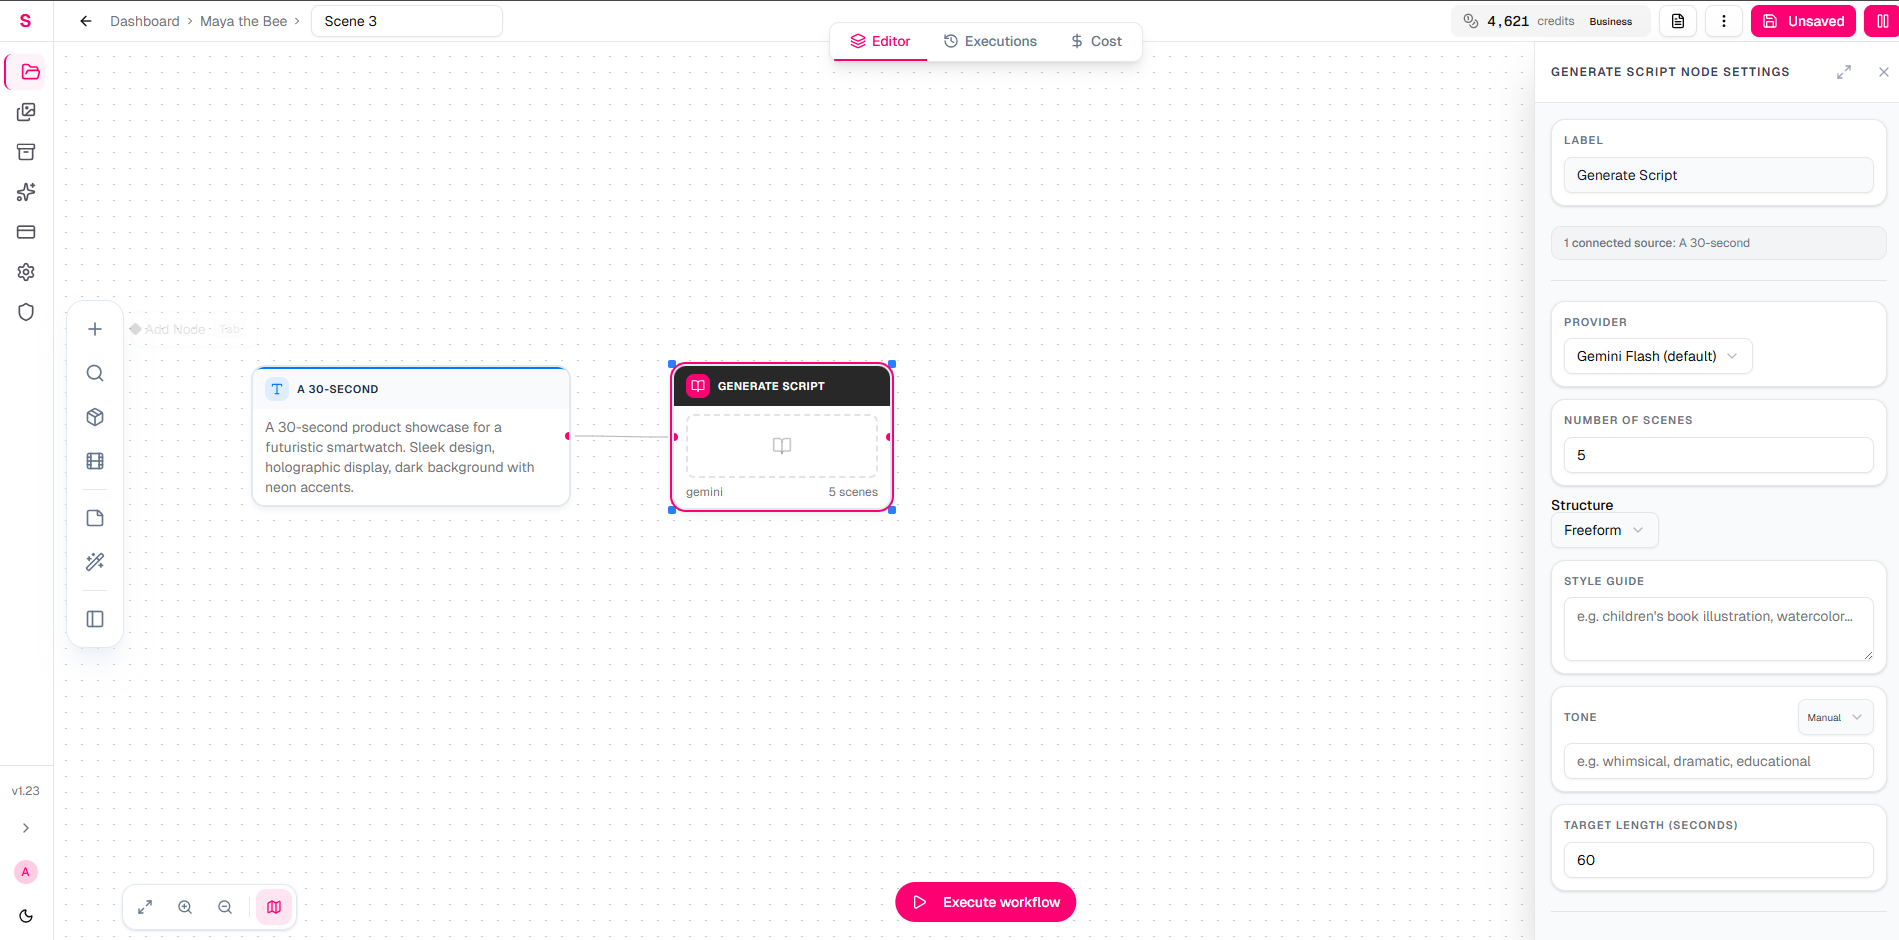
Add a Generate Script Node
Add a Generate Script node from the AI category.
This node takes your text concept and produces a structured video script with scene descriptions and narration.
Connect the Text Prompt's output handle to the Generate Script's input handle by dragging a wire between them.
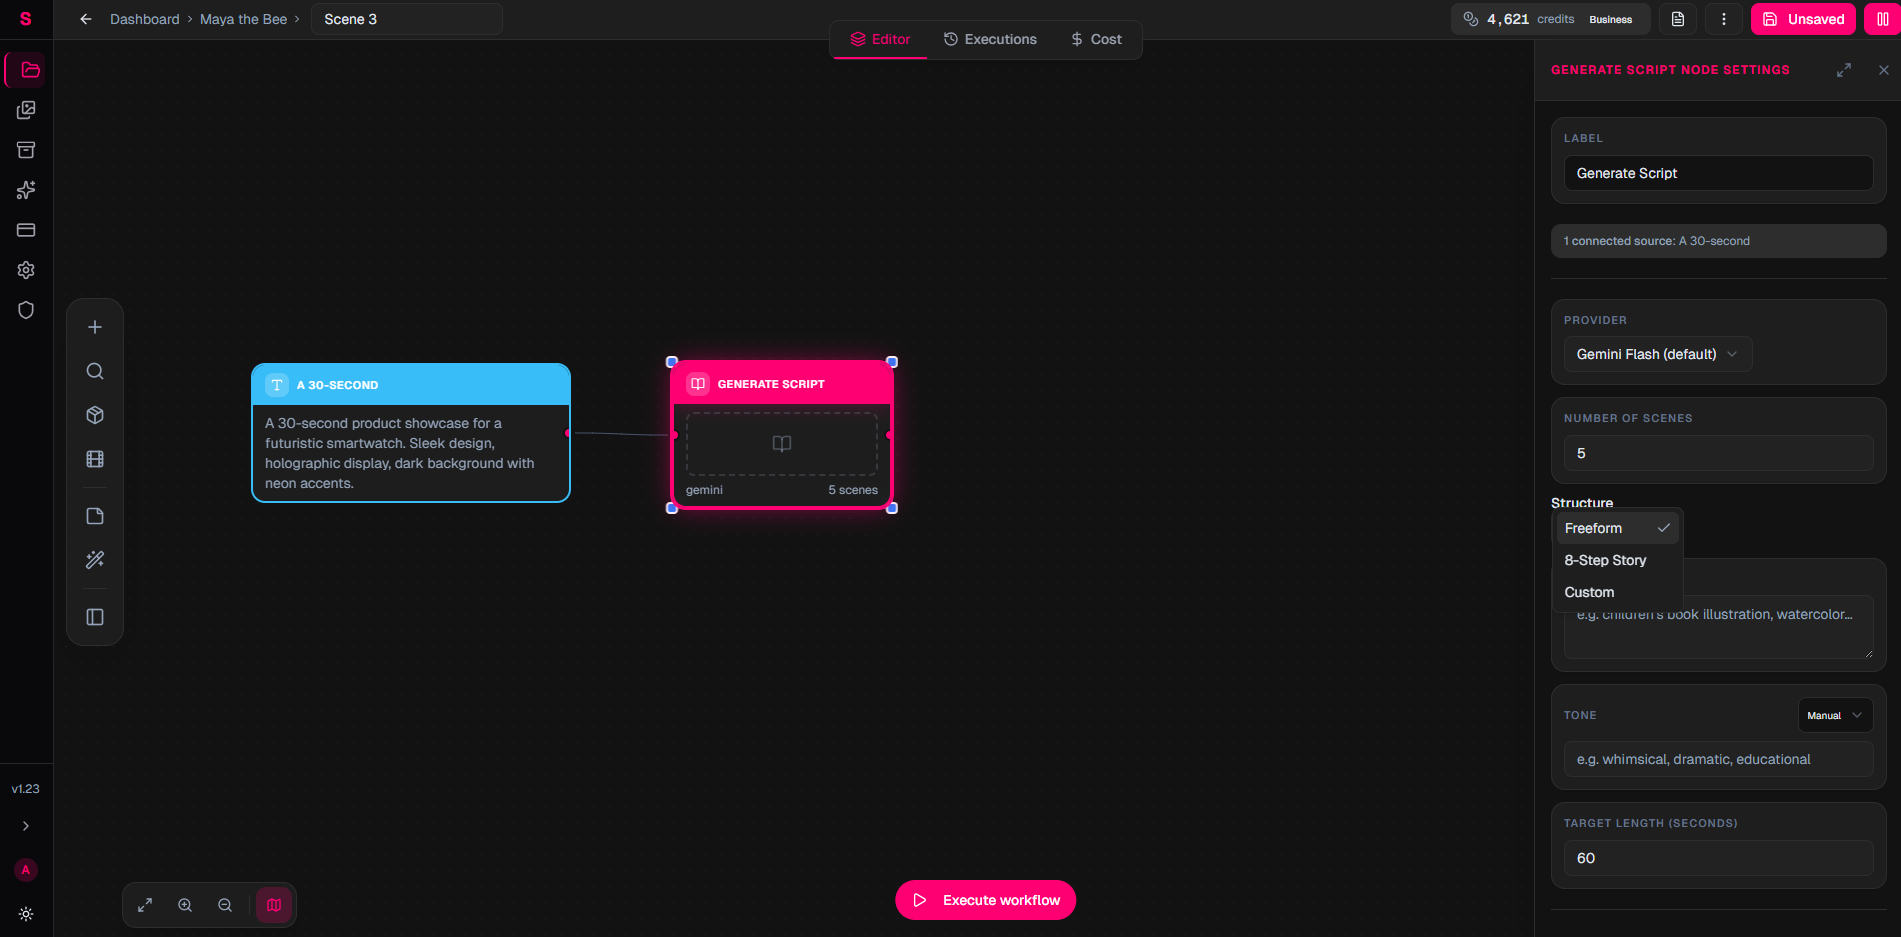
In the config panel on the right, the default provider (Gemini 2.5 Flash) works well. Leave it as-is.
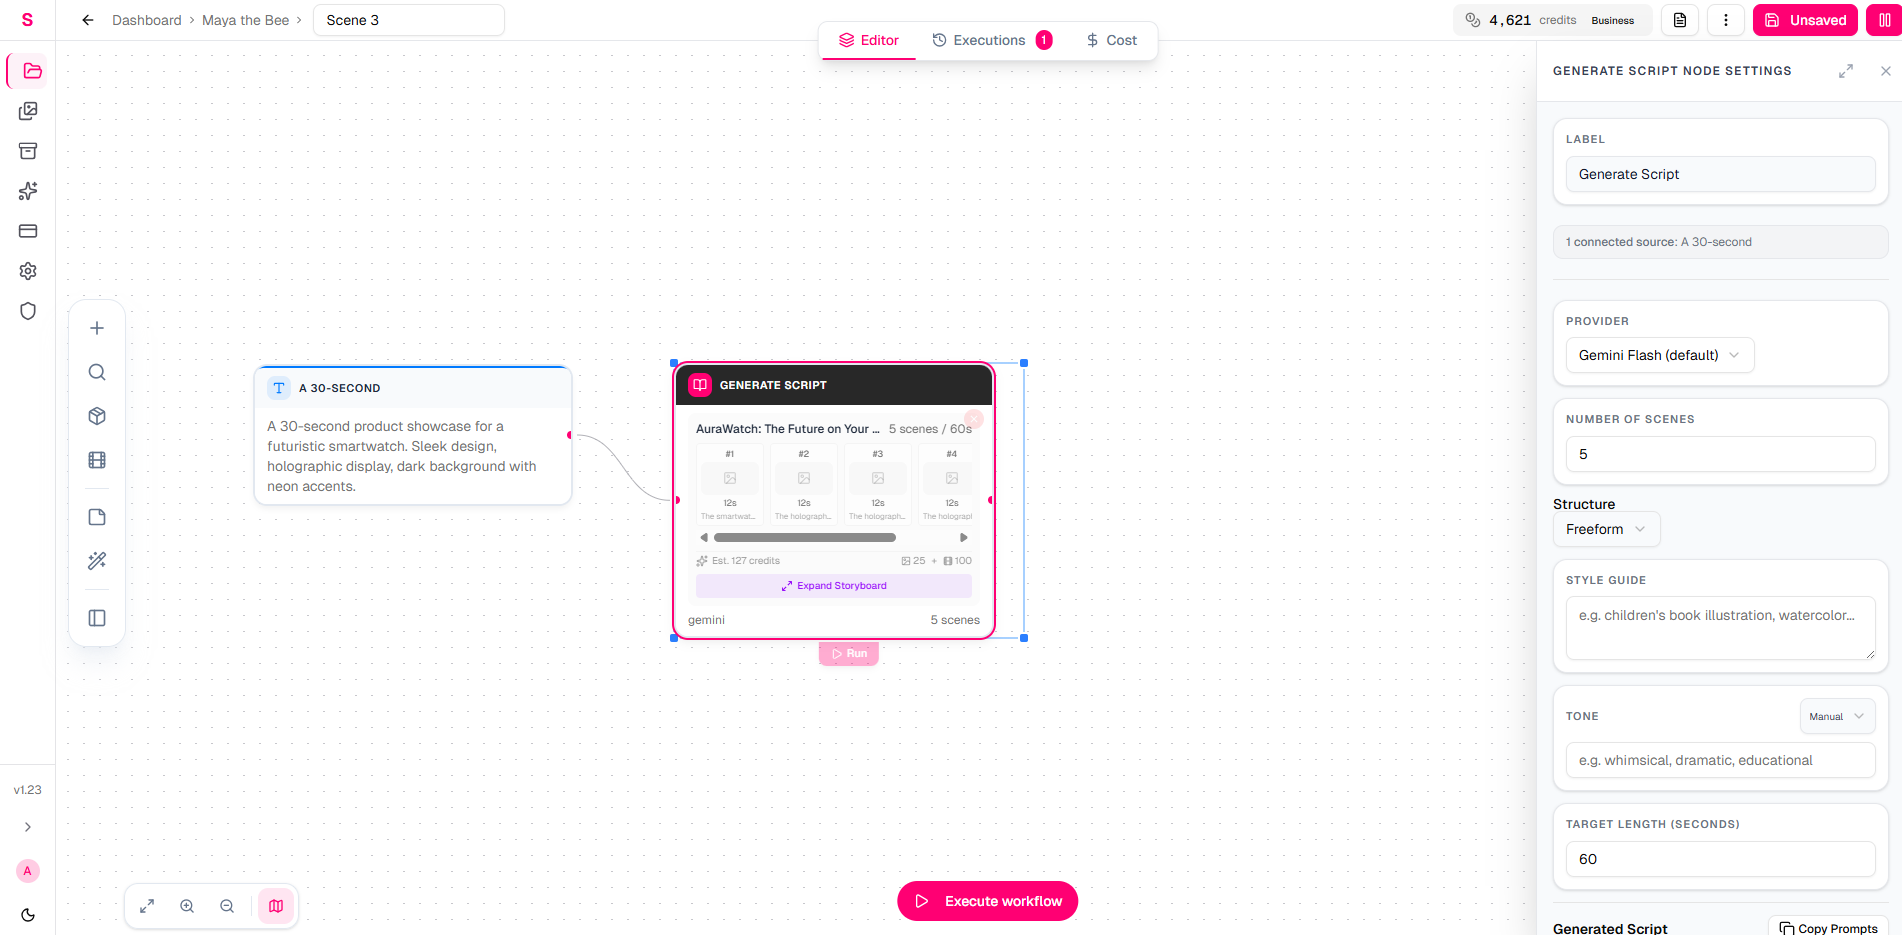
Run the Script Generator
Click the Run button on the Generate Script node (or use the top toolbar Run Workflow button).
Nodaro will generate a structured video script with scene-by-scene descriptions based on your text prompt. Wait for it to complete.
Once finished, click Expand Storyboard to see the full breakdown of your scenes. Each scene includes a visual description that will be used to generate images in the next step.
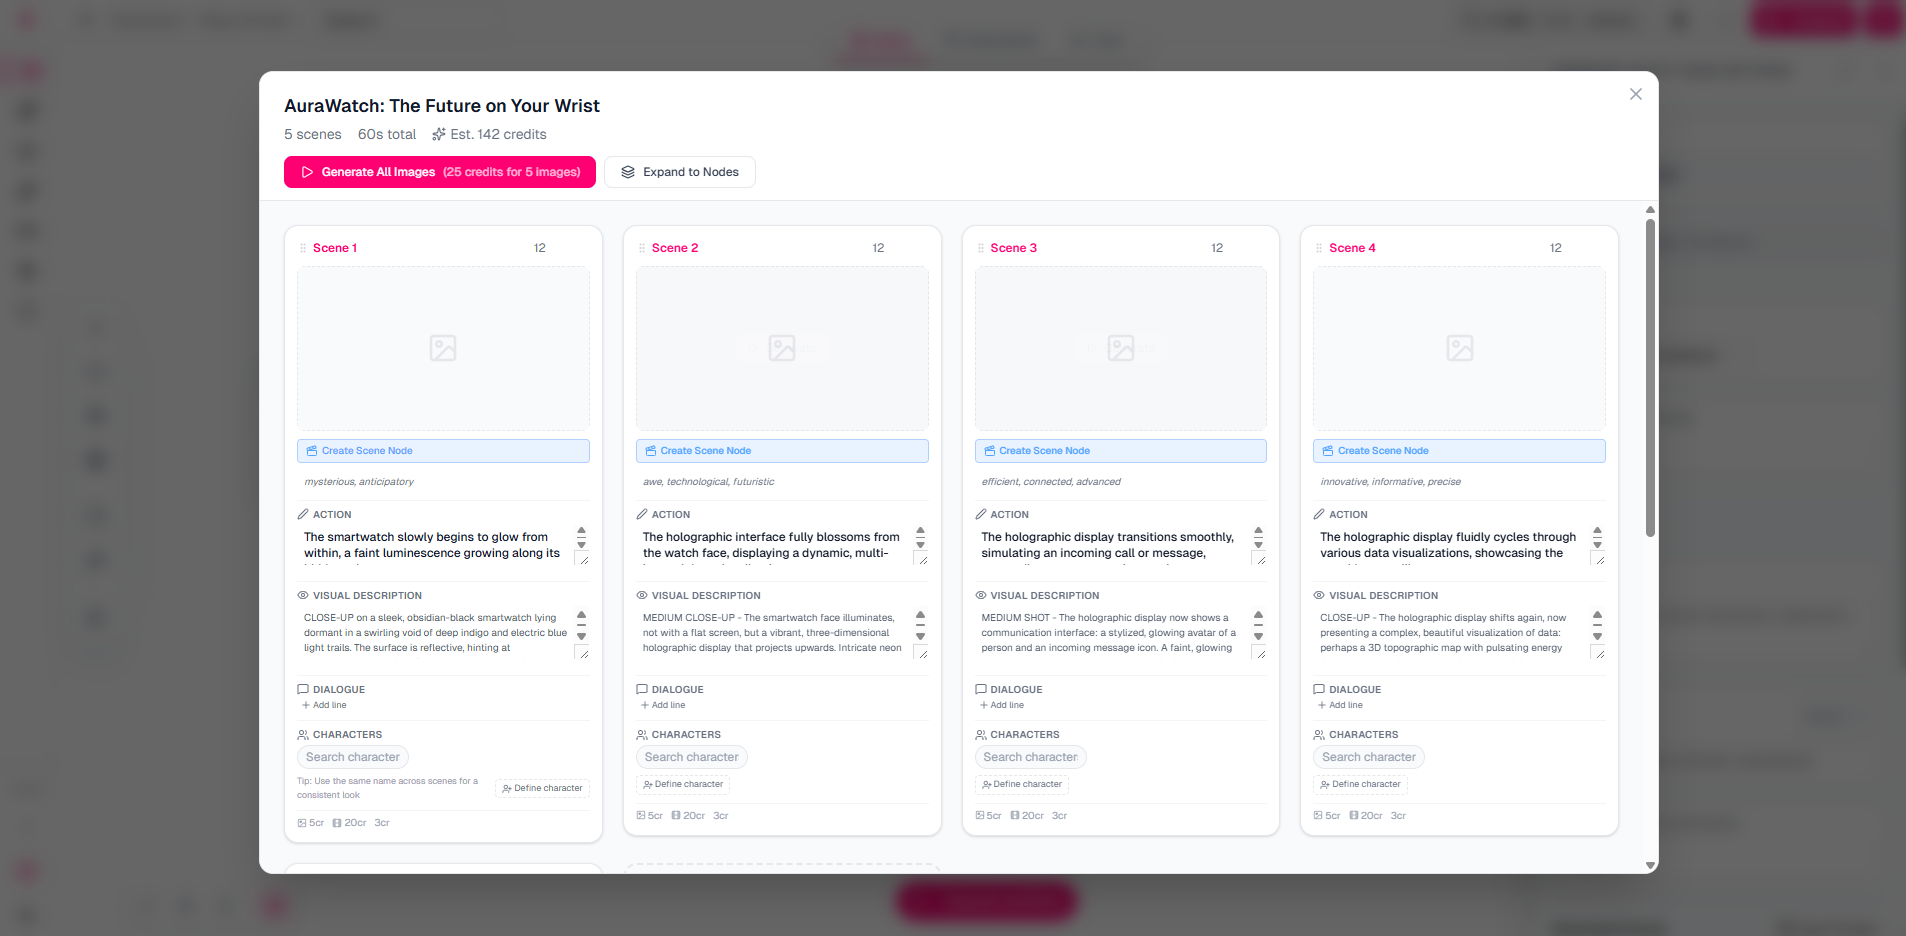
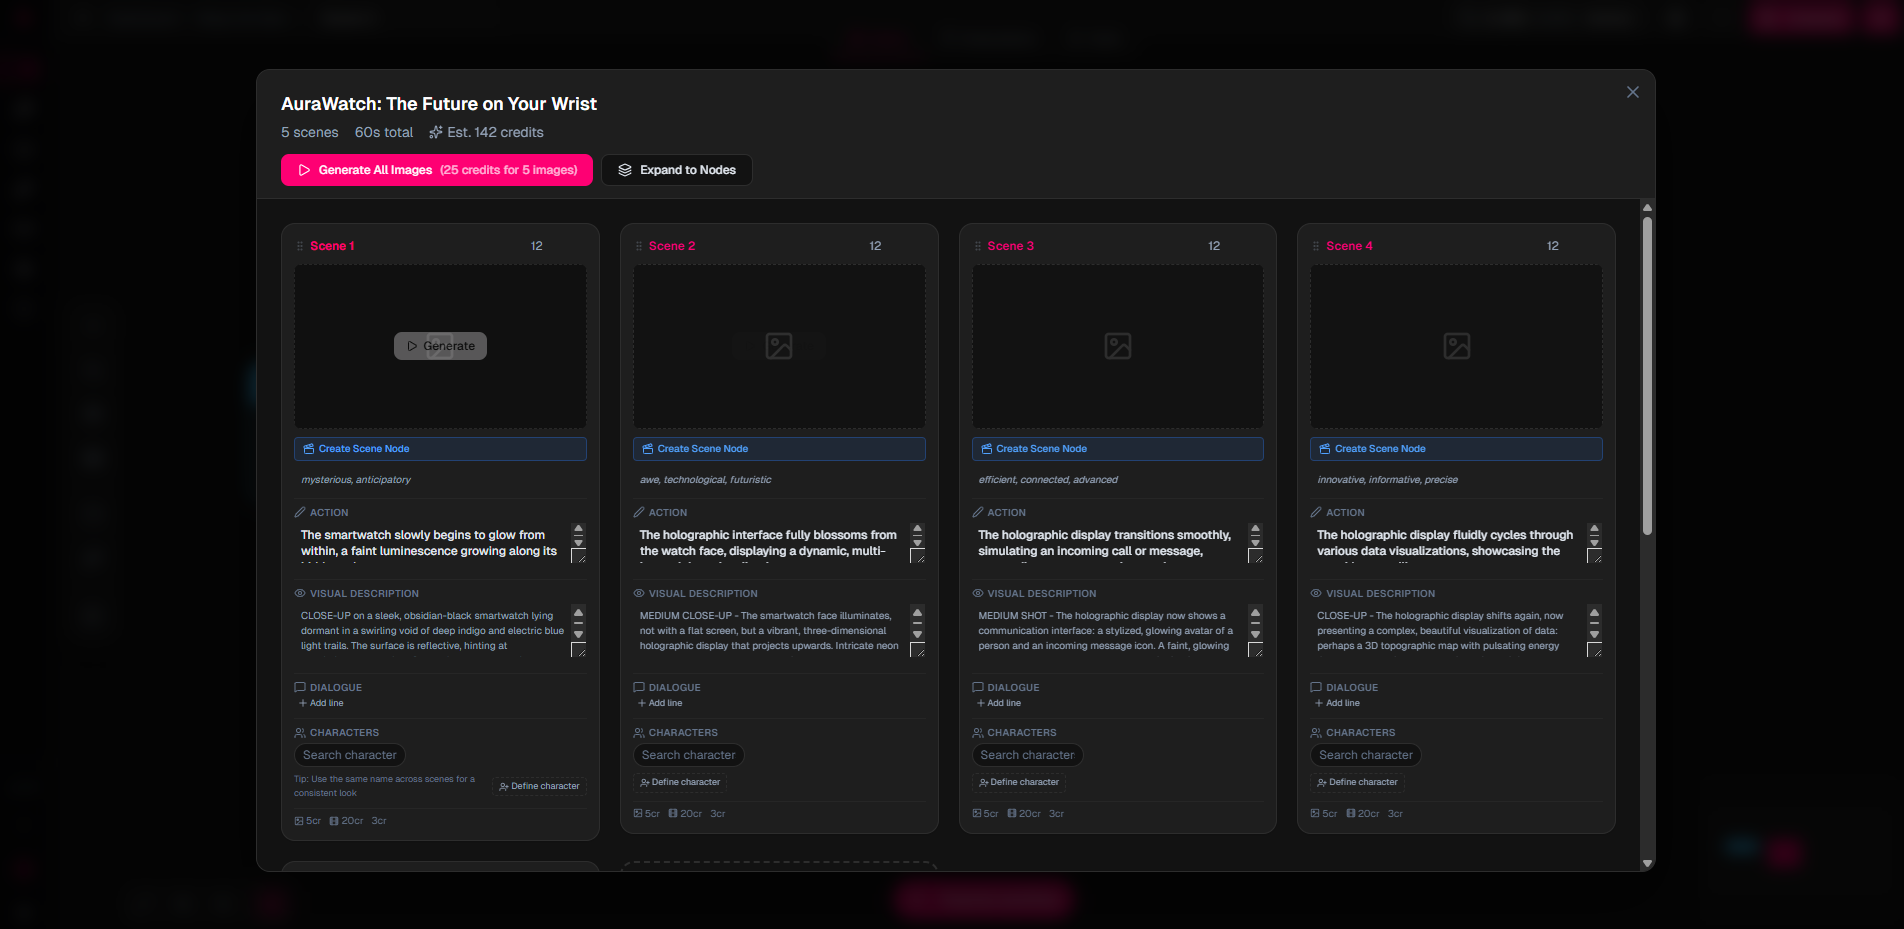
Add a Generate Image Node
Add a Generate Image node.
This creates the visual frame for your video scene.
Connect the Generate Script's output to the Generate Image's prompt input. The script's scene description will become the image prompt.
In the config panel, choose a provider:
- Nano Banana
- Nano Banana Pro
- Flux
Add an Image to Video Node
Add an Image to Video node from the AI category.
This animates your generated image into a short video clip.
Connect the Generate Image's output to the Image to Video's input.
Choose a video provider in the config panel:
- Kling Turbo
- MiniMax
- Kling
Run the Workflow
Click the Run Workflow button in the top toolbar. Nodaro will execute your nodes in order:
- Text Prompt feeds the concept to Generate Script
- Generate Script produces a scene description
- Generate Image creates a visual from the description
- Image to Video animates the image
You can watch the progress in real-time. Each node shows its current status (queued, processing, completed).
View Your Results
Once all nodes show a green checkmark, click on the Image to Video node to see your generated video in the preview panel. You can also find it in your Library (accessible from the sidebar).
You just created your first AI video workflow.
Expanding Your Workflow
Now that you have the basics, try adding more nodes:
- Text to Speech to add narration with ElevenLabs
- Generate Music to create a background track with Suno or MiniMax Music
- Merge Video & Audio to combine your video clip with the voiceover
- Add Captions to auto-generate subtitles from your audio
- Combine Videos to stitch multiple scenes into a final video
Tip
You do not have to rebuild from scratch every time. Duplicate an existing workflow and modify it, or use Build from Prompt to describe your video in plain text and let AI generate the workflow structure for you. See Build from Prompt for details.
Understanding Credits
Each AI operation costs credits. The free tier gives you 50 credits with a daily cap of 10. Here are some common costs:
| Operation | Credits |
|---|---|
| Generate Script | 2 |
| Generate Image (Nano Banana) | 4 |
| Image to Video (Kling Turbo) | 1 |
| Text to Speech | 1 |
| Generate Music | 1 |
| Processing nodes (FFmpeg) | 0 |
The workflow in this tutorial costs approximately 7 credits total. See Credits for the full pricing breakdown.
Next Steps
- Build Your First Full Workflow: voiceover, music, and final assembly
- Node Reference: browse all 30+ available nodes
- Core Concepts: how workflows, handles, and execution work